
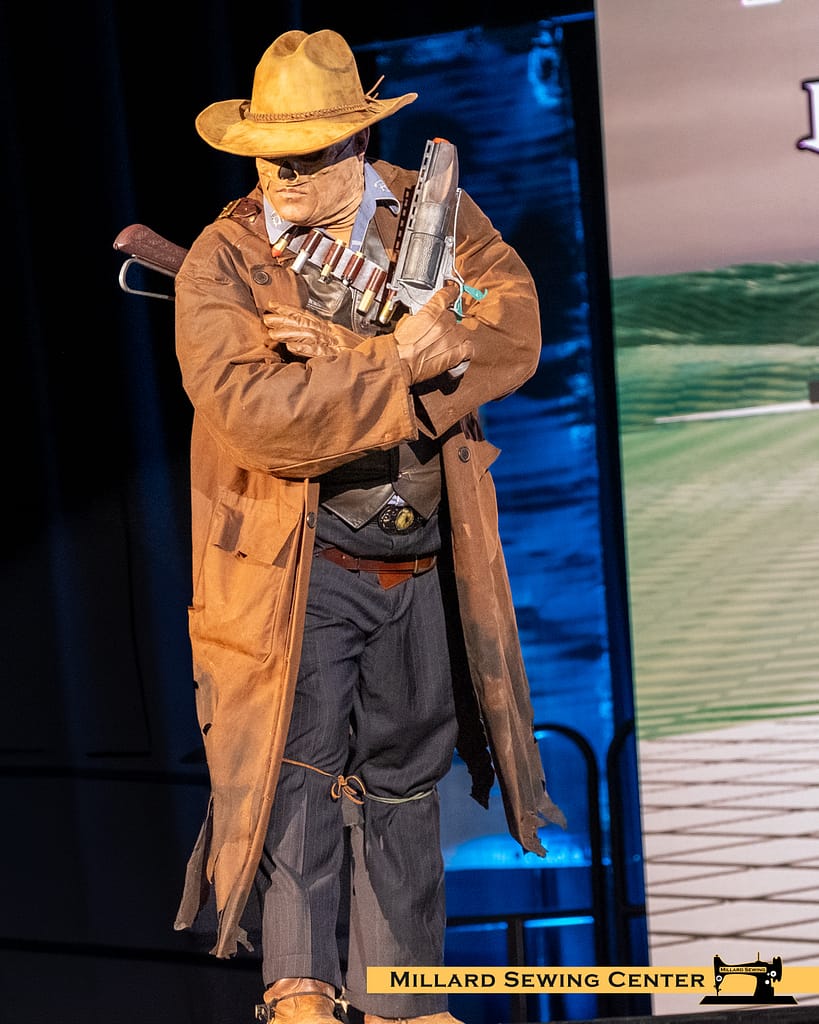
The insider knowledge on creating cosplays that look and feel like your character.
Learning how to make your cosplay feel like your character can be a struggle. Explore tips on how to understand your character, create a unique costume, apply texture, color, and pattern to your cosplay. Choose the best techniques for your character, resources, and skill level.
1. Interpret the Character
When picking fabrics, consider the time period, location, and feelings of the character. Some characters set in the future make more sense to use sleek or reflective fabrics and patterns, while characters referencing past time periods may be better represented by cotton or other natural fabrics. The setting can also determine what details you should consider adding such as beading, lace, and fasteners. The characters environment and role can determine accessories, fabric choices, weathering, props, and embellishments.
2. Selecting Colors
By considering the feeling and design of the character, you can mix different textures and colors to add depth to your cosplay. Hand-dyed fabrics and small textures are perfect to add depth and texture for armored characters, nature-y characters, modern characters, and much more. For many characters, there might not even be a canon color palette. Many Sailor Moon figures have two versions, to represent both the older and modern color palettes of the show.
3. Fabric Printing
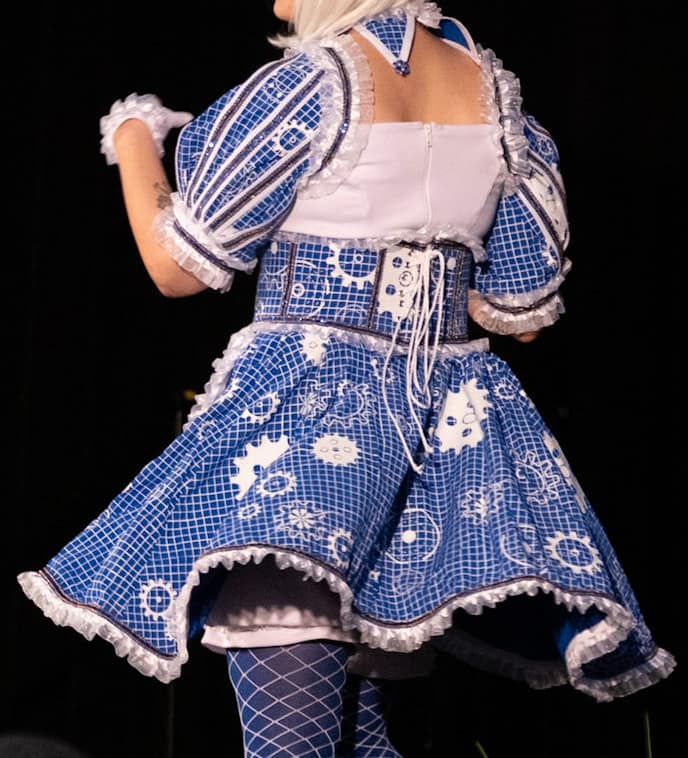
Custom fabric and designs can be made by printing custom fabrics or printing onto fabrics. Sublimation printing has a lower barrier to entry, and lets the cosplayer take a pattern and heat press it onto almost any polyester fabric. Custom fabric printing is also available with home printing, but can also be custom ordered through services online.
Pictured is Blueprint Joker from Balatro featuring intricate patterns perfect for fabric or sublimation printing.
4. Applique
Applique is a versatile technique that can be used by many skill levels to add details to a cosplay. Simple appliques can be done on a sewing machine, stitching around the raw edge to attach large patches of fabric onto sleeves, skirts, capes, and more. Using an embroidery machine can be a large improvement to getting exact shapes and perfect curves.
5. Embroidery
Embroidery is very common for cosplay. Hand embroidery isn’t as common, as using an embroidery machine makes embroidery much faster, more accurate, and cleaner. Machine embroidery allows the use of purchased designs, and digitizing lets you create your own. Thread choice, placement, techniques, and more make the same design unique each time.
6. Using Bias Tape
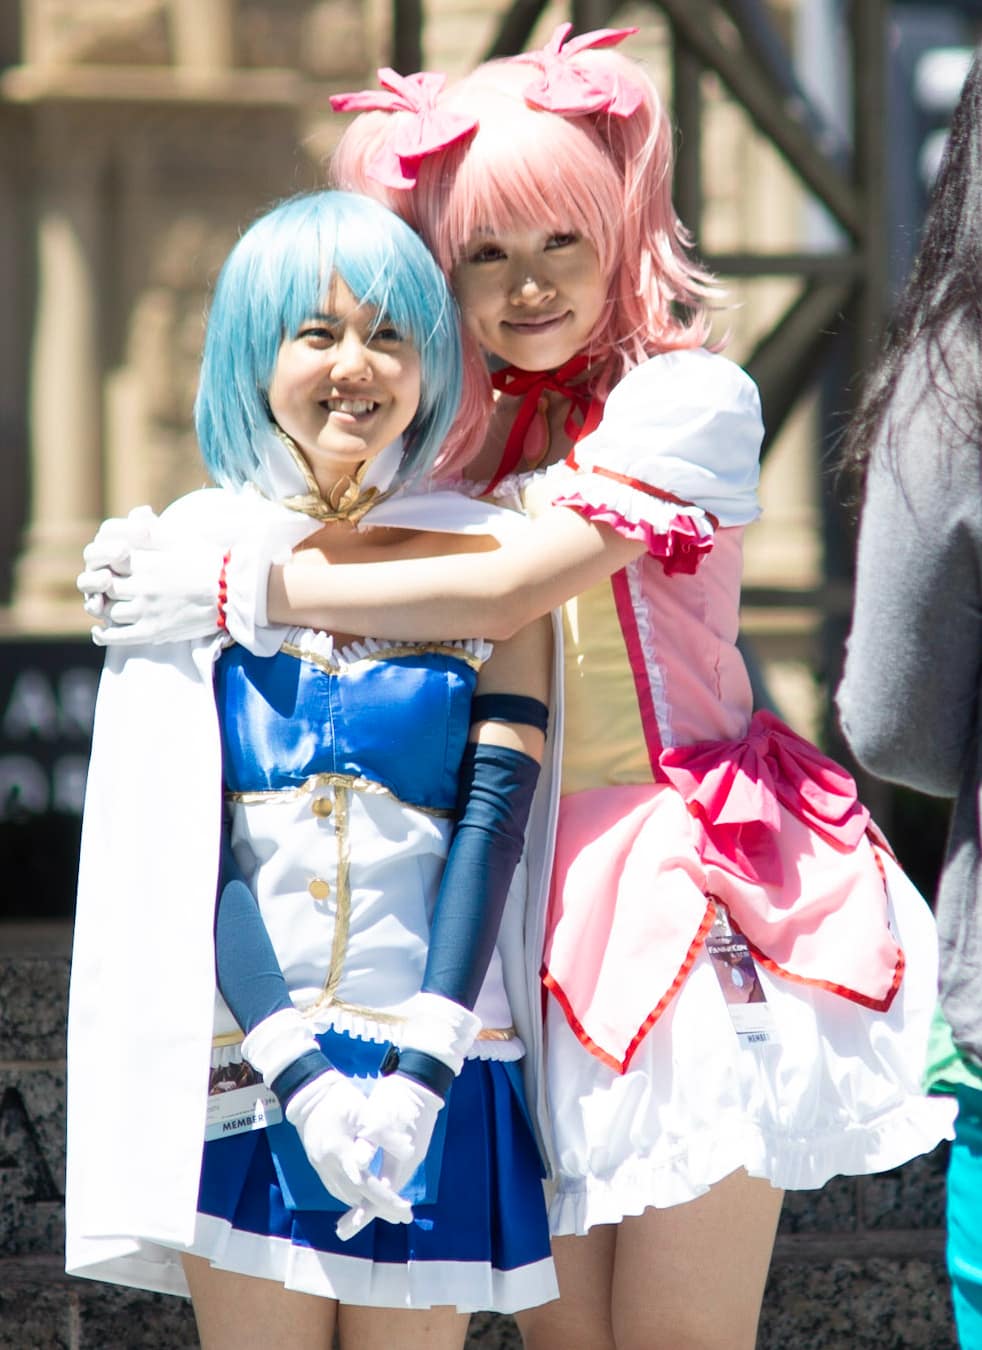
Bias tape is a must to represent solid colored or patterned lines on a cosplay. Characters like Frieren, Deku, and many more are recognizable by stripes and lines along their garments. Folded bias tape is the easiest to use, as it folds the raw edge into itself. This avoids fraying or raw edges on your finished costume. If you somehow can’t find the correct color, you can easily make bias tape yourself!
Pictured is Sayaka and Madoka from Puella Madoka Magica. The gold and red trim are easily achievable with the use of bias tape.
7. Picking Out Lace
Lace adds texture, interest, and can often set the tone for the character. For characters such as Princess Peach, white or cream lace is a common way to interpret royalty or delicateness. Adding multiple textures and colors of lace can give the opposite effect, and convey chaos. Because of the wide array of sizes, colors, and patterns of lace, there are many ways to incorporate it into your cosplay.
8. Selecting Fasteners
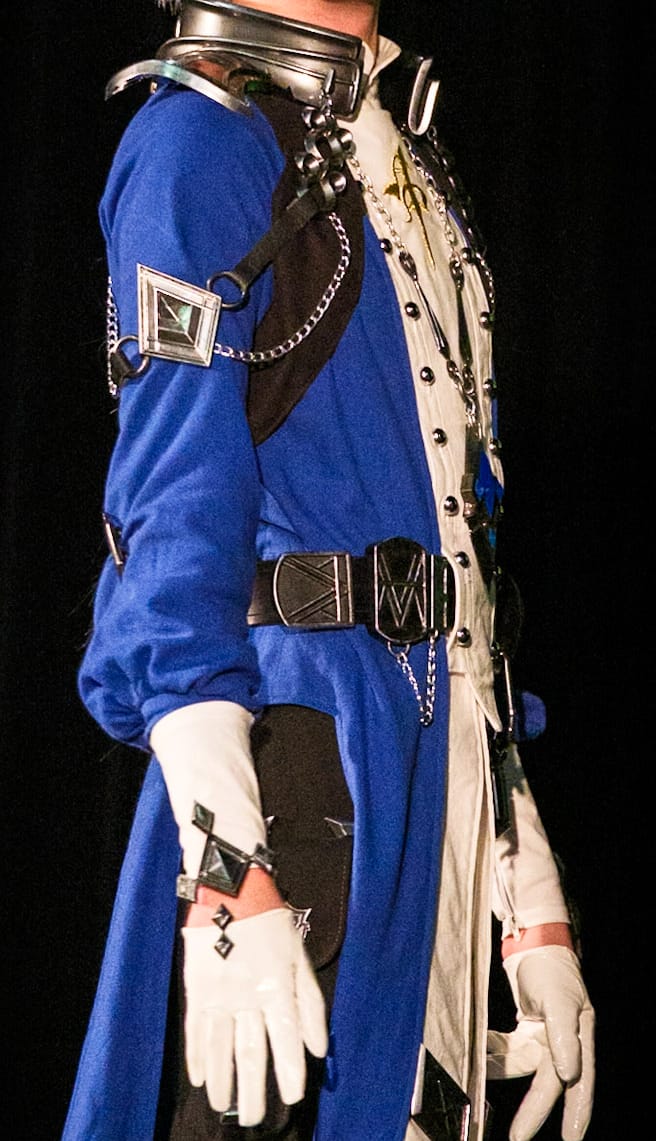
Fasteners can be visible for many cosplays and give a chance to show off functionality. Buttons, buckles, and grommets are most often visible to the outside. Depending on your preference, zippers can be sewn invisibly, or stand out. Snaps, velcro, hooks and eyes, and magnets are usually hidden. Instead of insisting all fasteners must be hidden, highlight your skills with visible fasteners on props, belts, and more.
Pictured is Alphinaud Leveilleur from Final Fantasy XIV, a perfect showcase of using fasteners including D-rings, buckles, buttons, chains, and more.
9. Beading
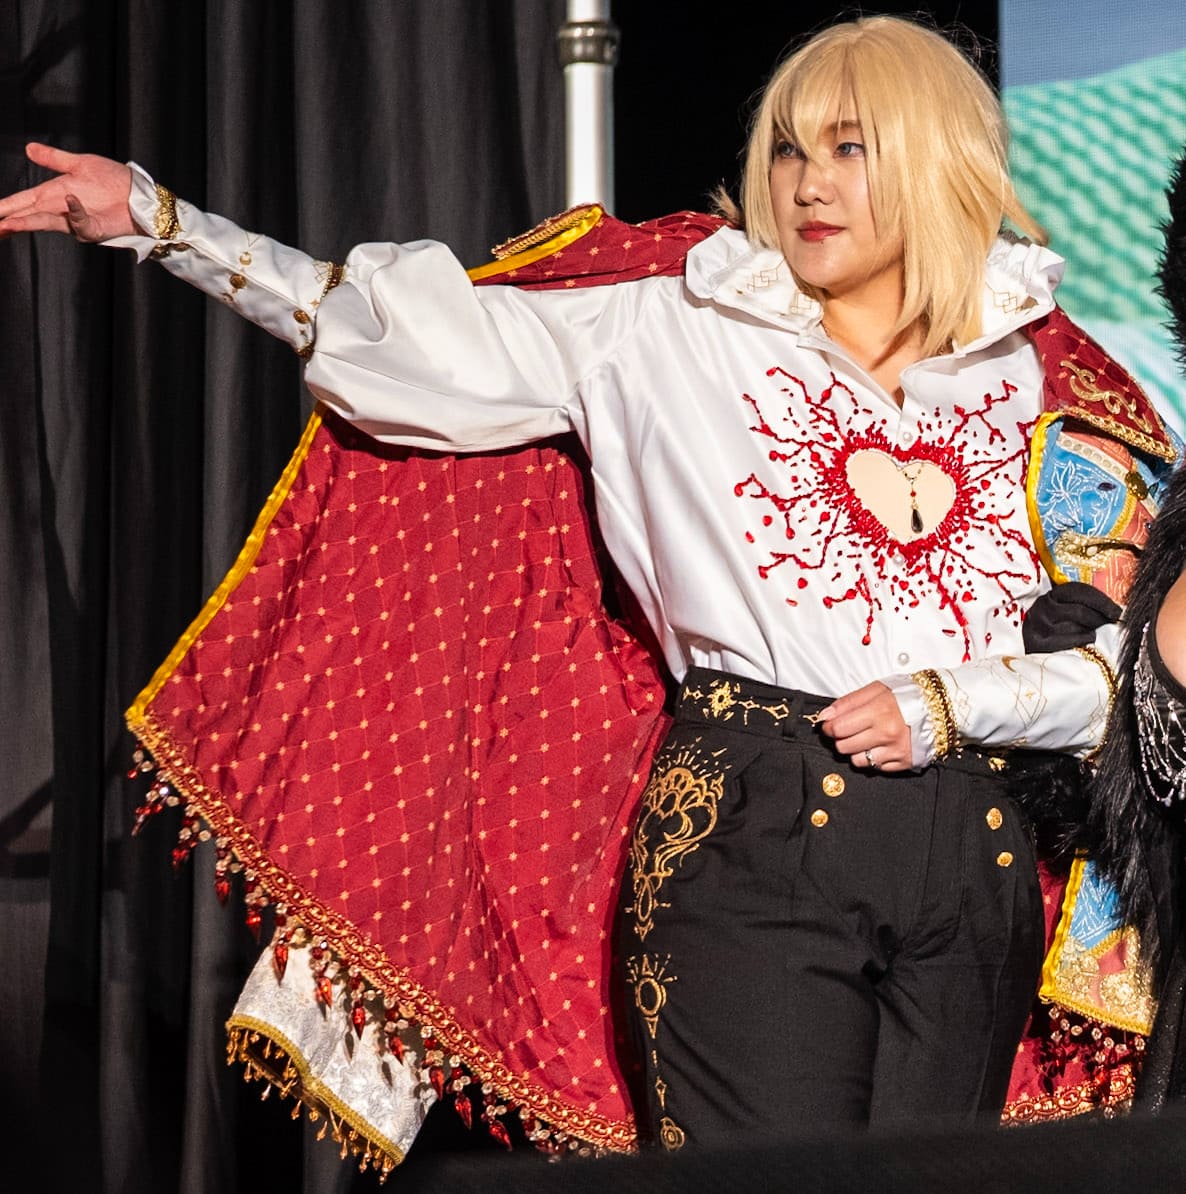
Beading is an intricate way to add detail, sparkles, and texture to your cosplay. Beading is often known for being time consuming and done by hand. However, a beading foot is available for many machines to speed up some of this process. Consider using beading to upgrade accessories, symbols, and patterns found on your character.
Pictured is Howl from Howl’s Moving Castle with beading and other intricate details.
10. Quick and Simple Details
Patches, iron on vinyl, and adhesives can be used to add detail in seconds and improve the final result of your cosplay.
Patches are iconic parts of many cosplays, especially for characters in military uniforms, work uniforms, and more. They can be ironed on or sewn on, and easily purchased or created on an embroidery machine.
Iron on vinyl is used by many cosplayers to add flat and intricate designs easily. They are available in many colors, effects, and can be cut to the necessary shape.
Adhesives are a common tool used for layout, placing, and attaching pieces to a cosplay. Odif is our go to source for adhesives, and has an array of repositionable, temporary, permanent, and coating sprays.
11. Fabric Paint/Markers
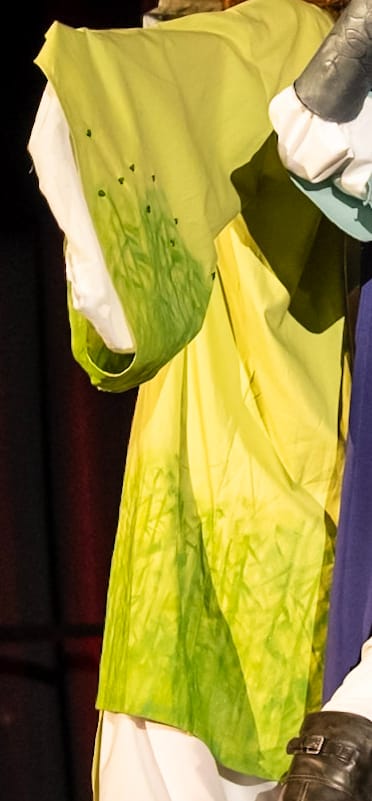
Fabric paint and markers are an option for cosplayers. Fabric paint has the option to create intricate designs with a hand made feel. These can be used to compliment characters with creative personalities, or to add a comic book effect to finished pieces. Cosplays of Clementine from The Walking Dead often use paint and markers to give the drawn effect.
Pictured is Shen Qingqiu from The Scum Villian’s Self-Saving System with painted details on the botttom of the hanfu.
12. Weathering and Distressing
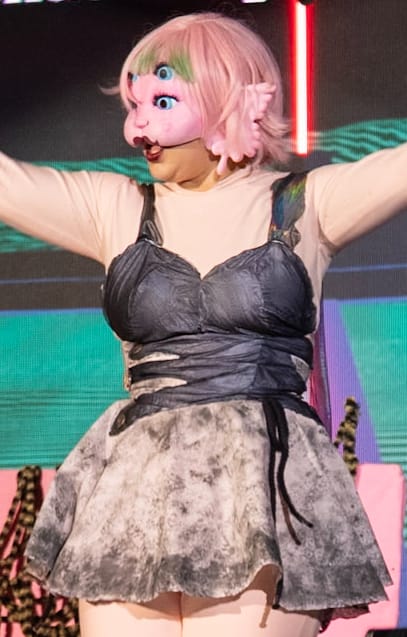
Weathering and distressing add depth and emotion to many cosplays through paint or dyeing techniques. If the character your cosplay is of comes from combat, nature, injury, etc., try adding tears, fake burns, or discoloration to your cosplay. Use fabric paints, dyes, or even nature itself to bruise up your costume. Consider where the wear and tear on the character’s outfit is when deciding to add weathering and distressing.
Pictured is the nymph/creature from Melanie Martinez’s Portals album. This costume features weathering and distressing on the garment.
13. Care for Your Cosplay
Presentation matters. Especially if you are considering competing or simply want nice photos. Proper ironing makes your costume look cleaner and more professional, and using tailor’s hams and other pressing tools can be a simple step to make your costume more visually appealing. Same goes for storing and transporting your costumes. If you have dyed or painted your cosplay, make sure you use the proper washing and drying techniques to keep your costume looking nice.
Related Resources
Helpful pages to keep learning.