
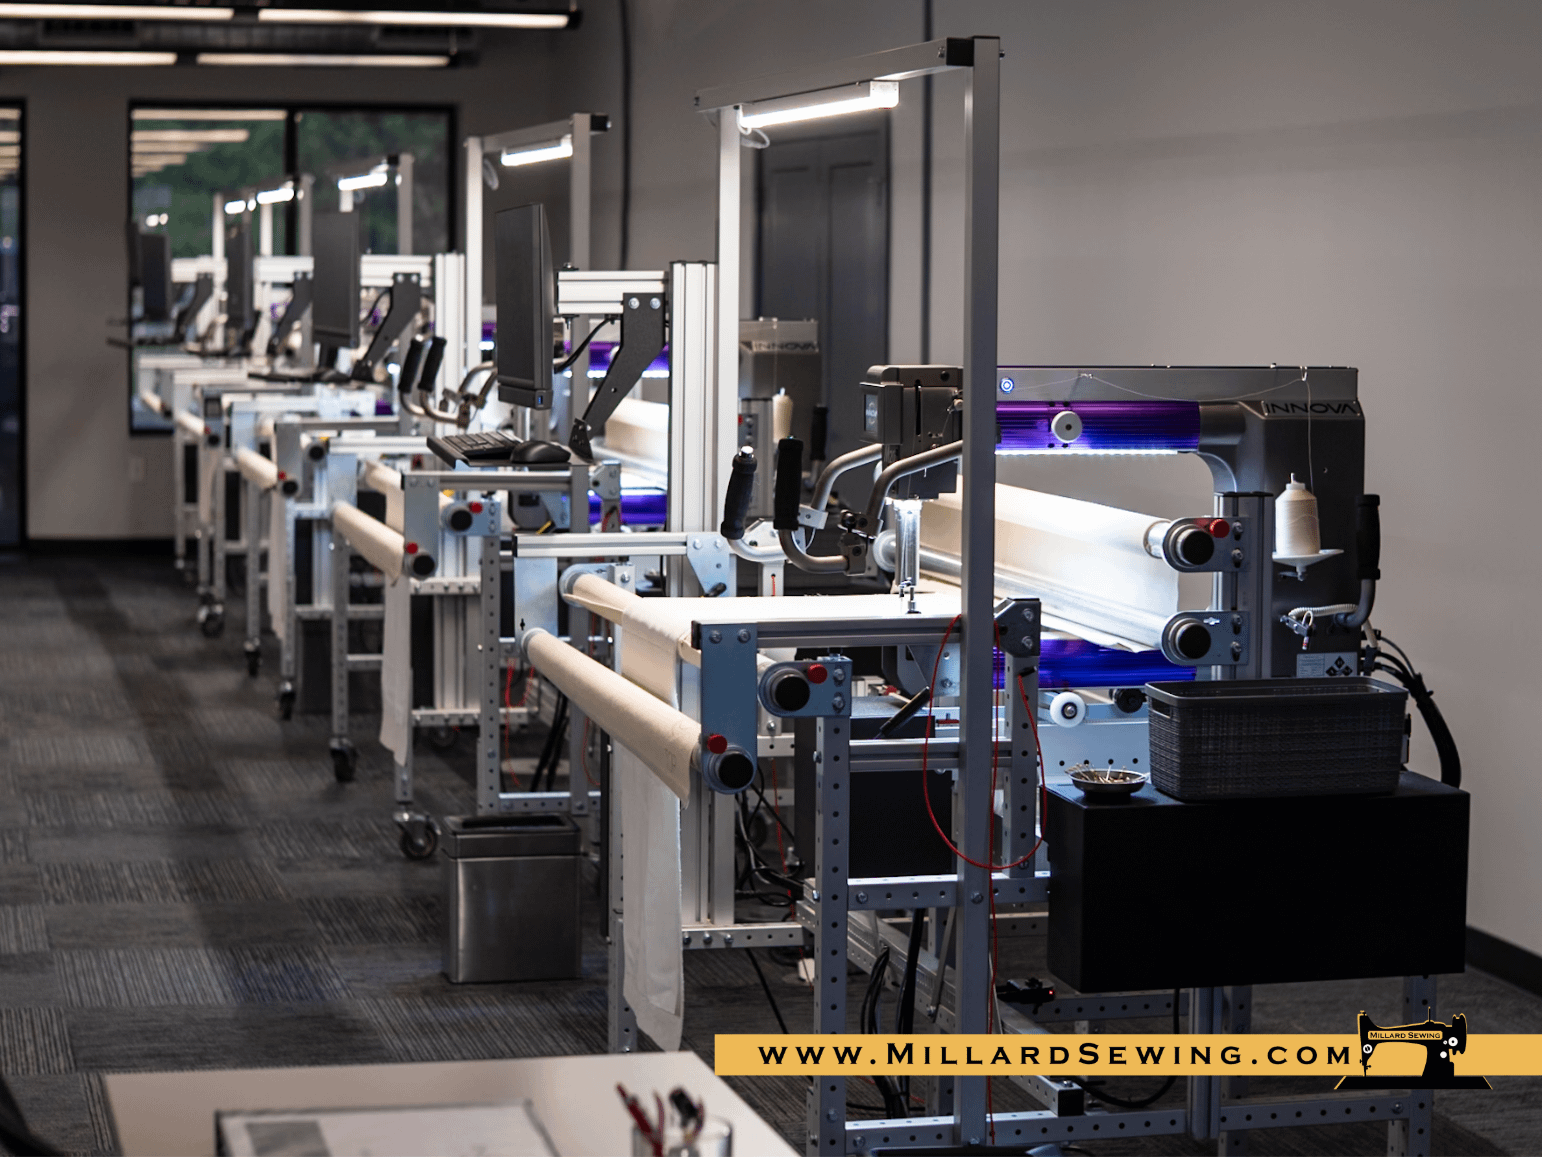
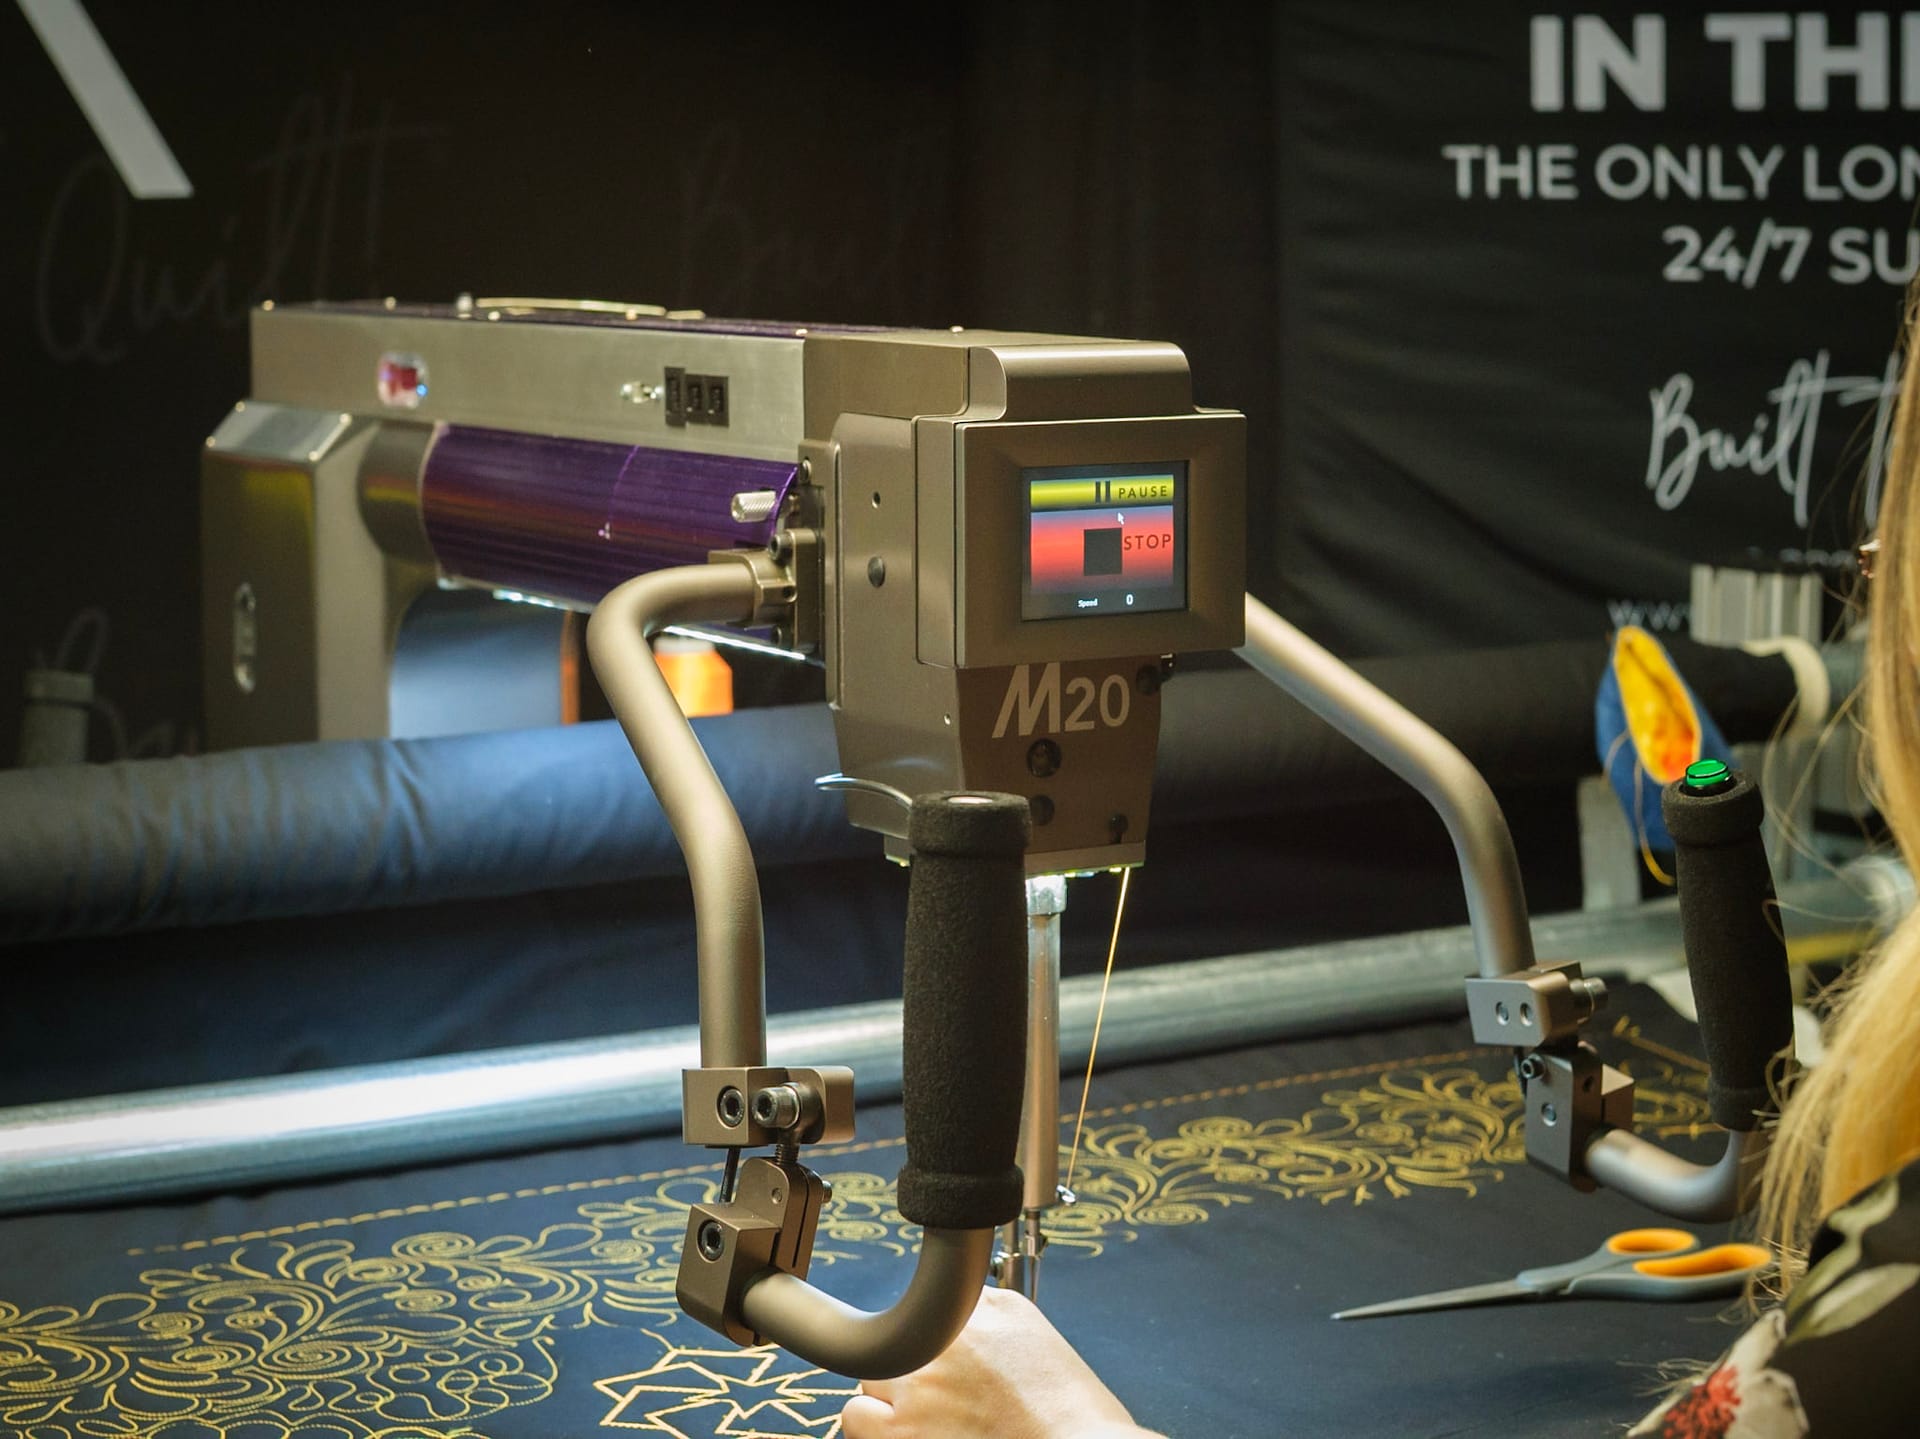
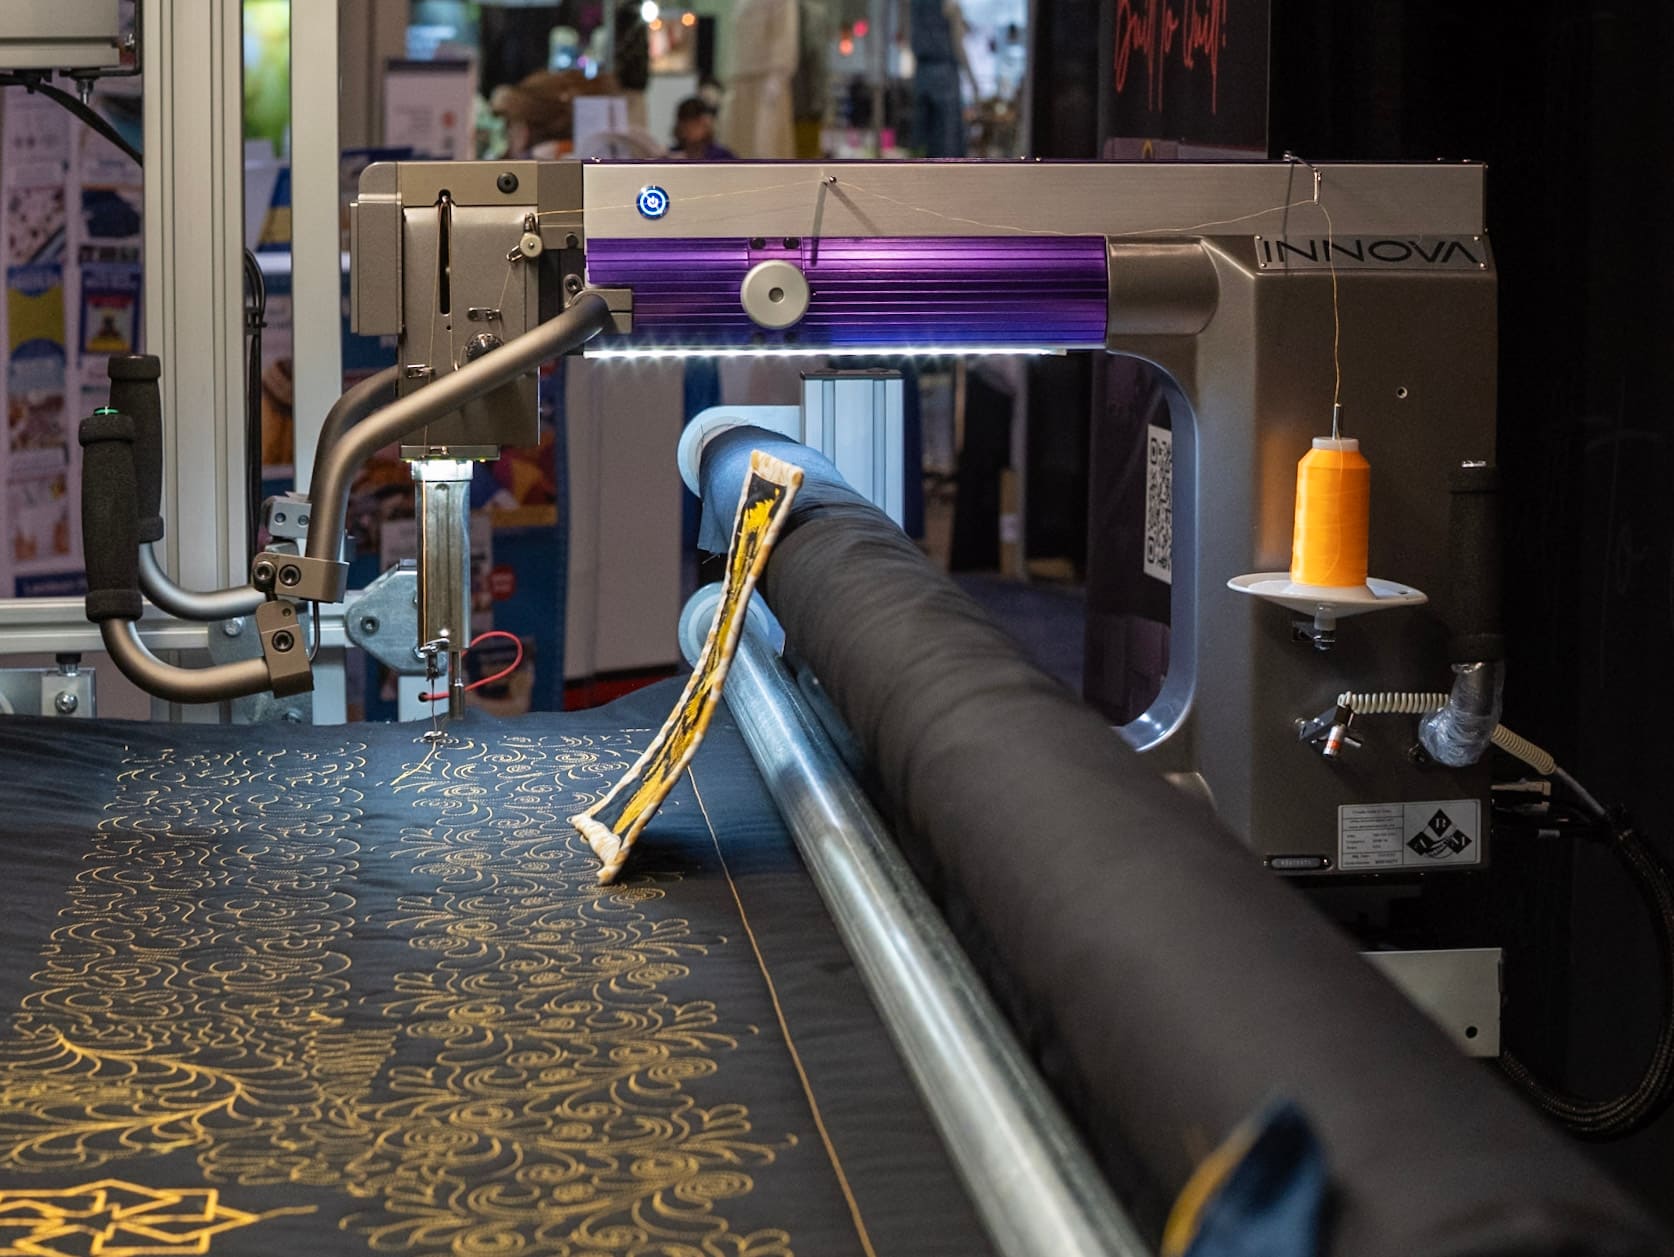
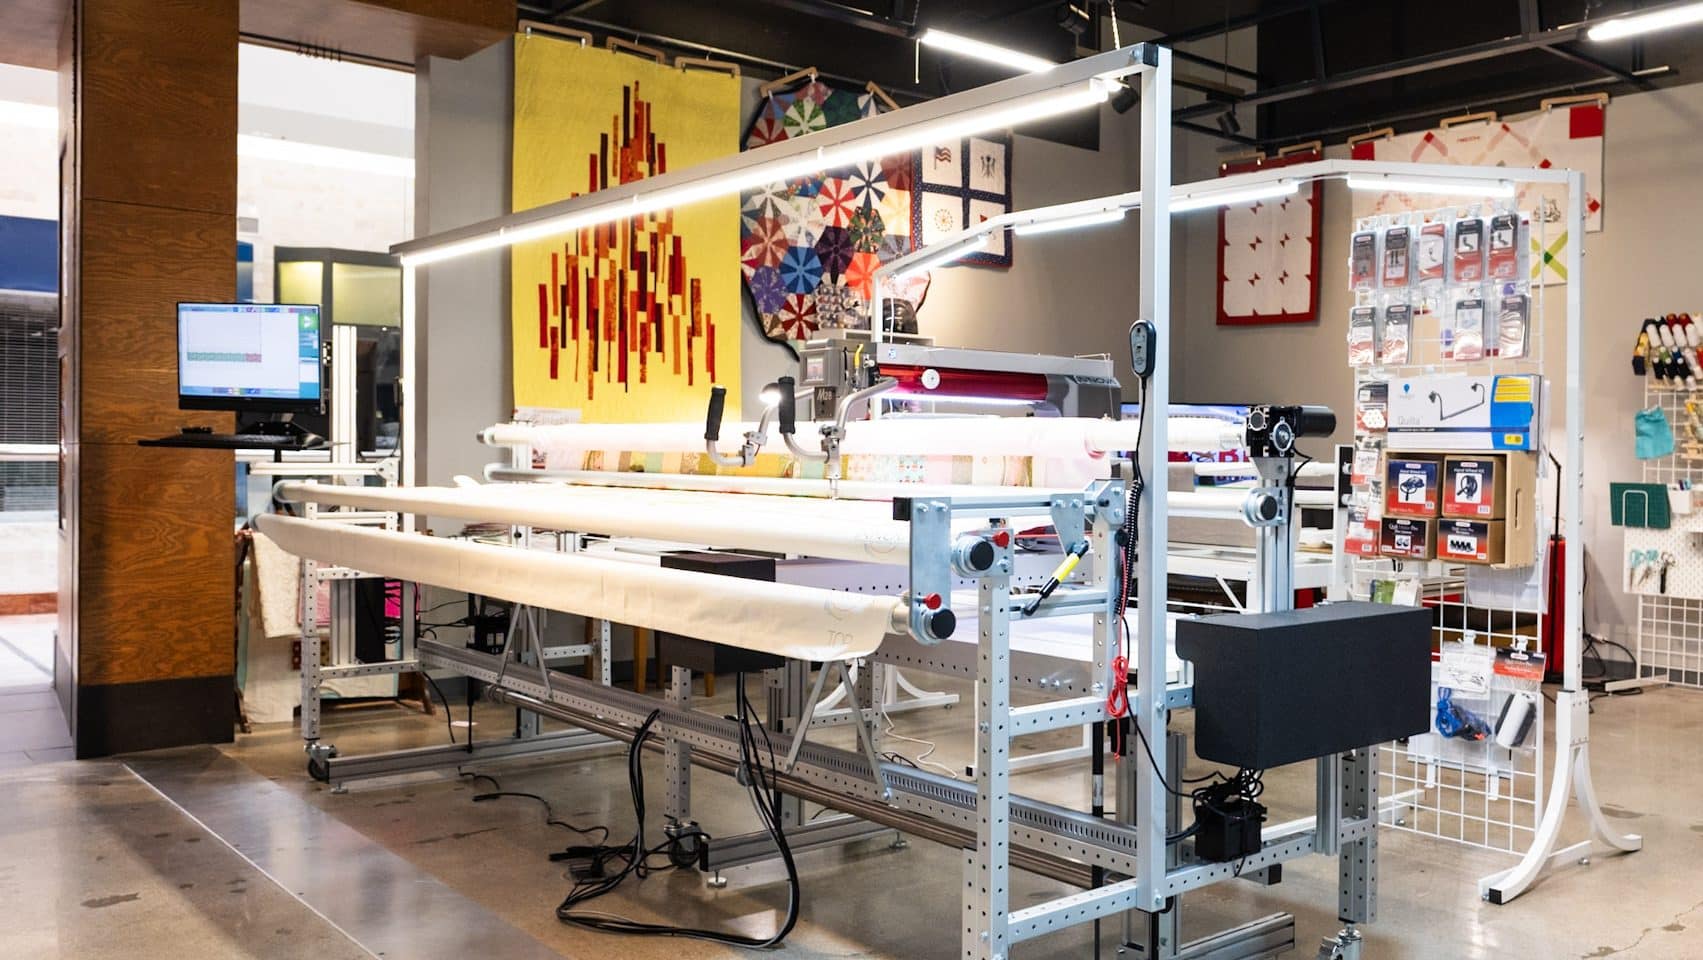
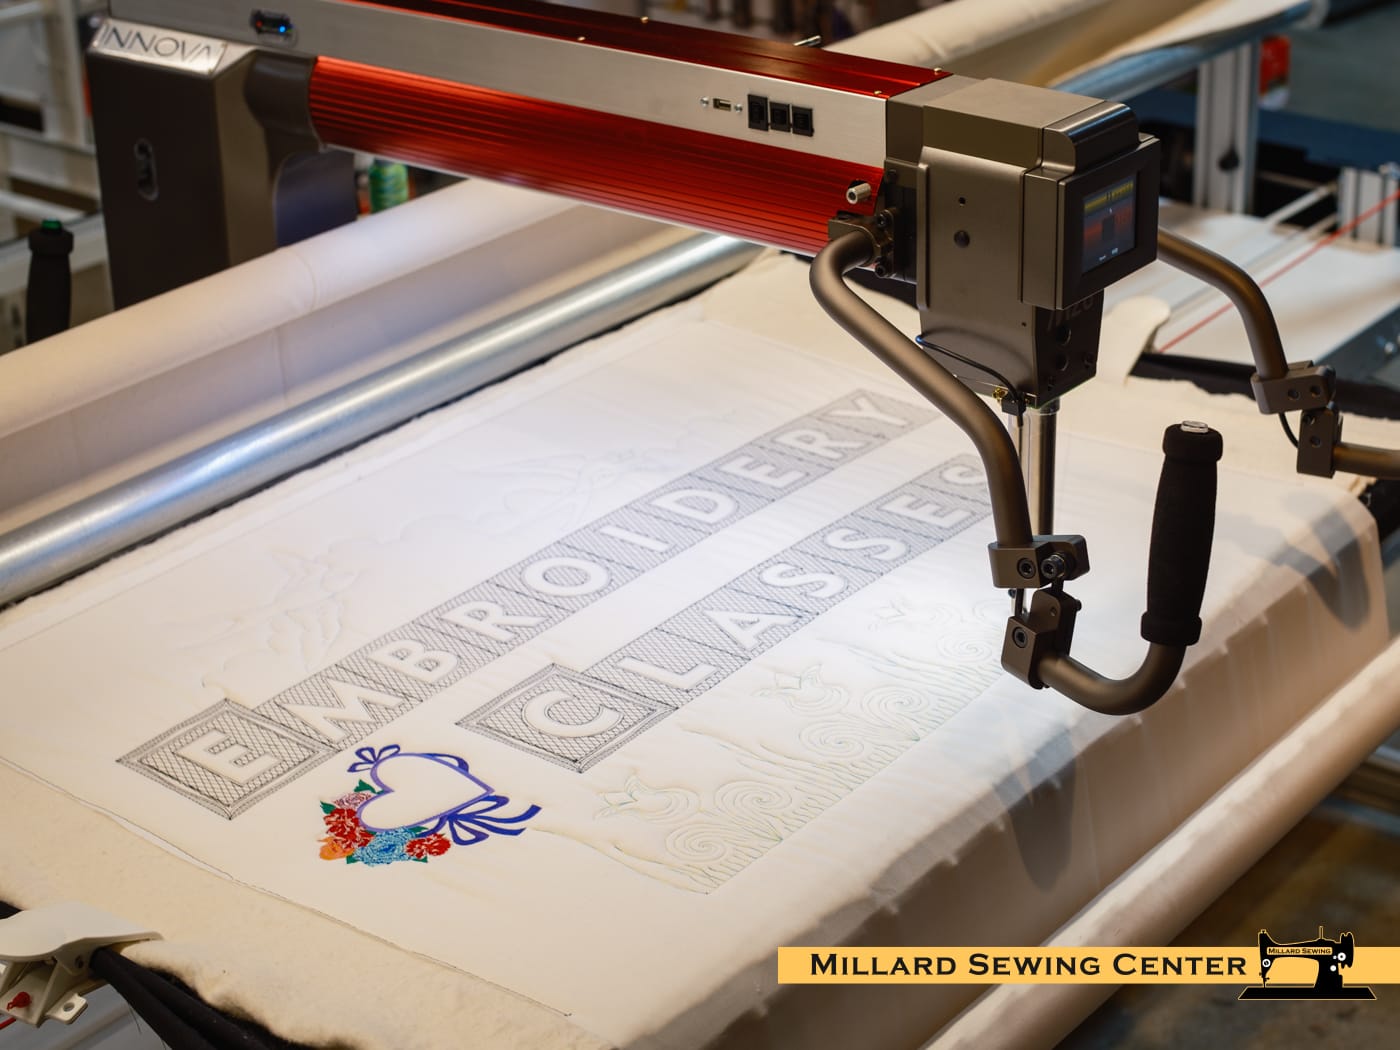
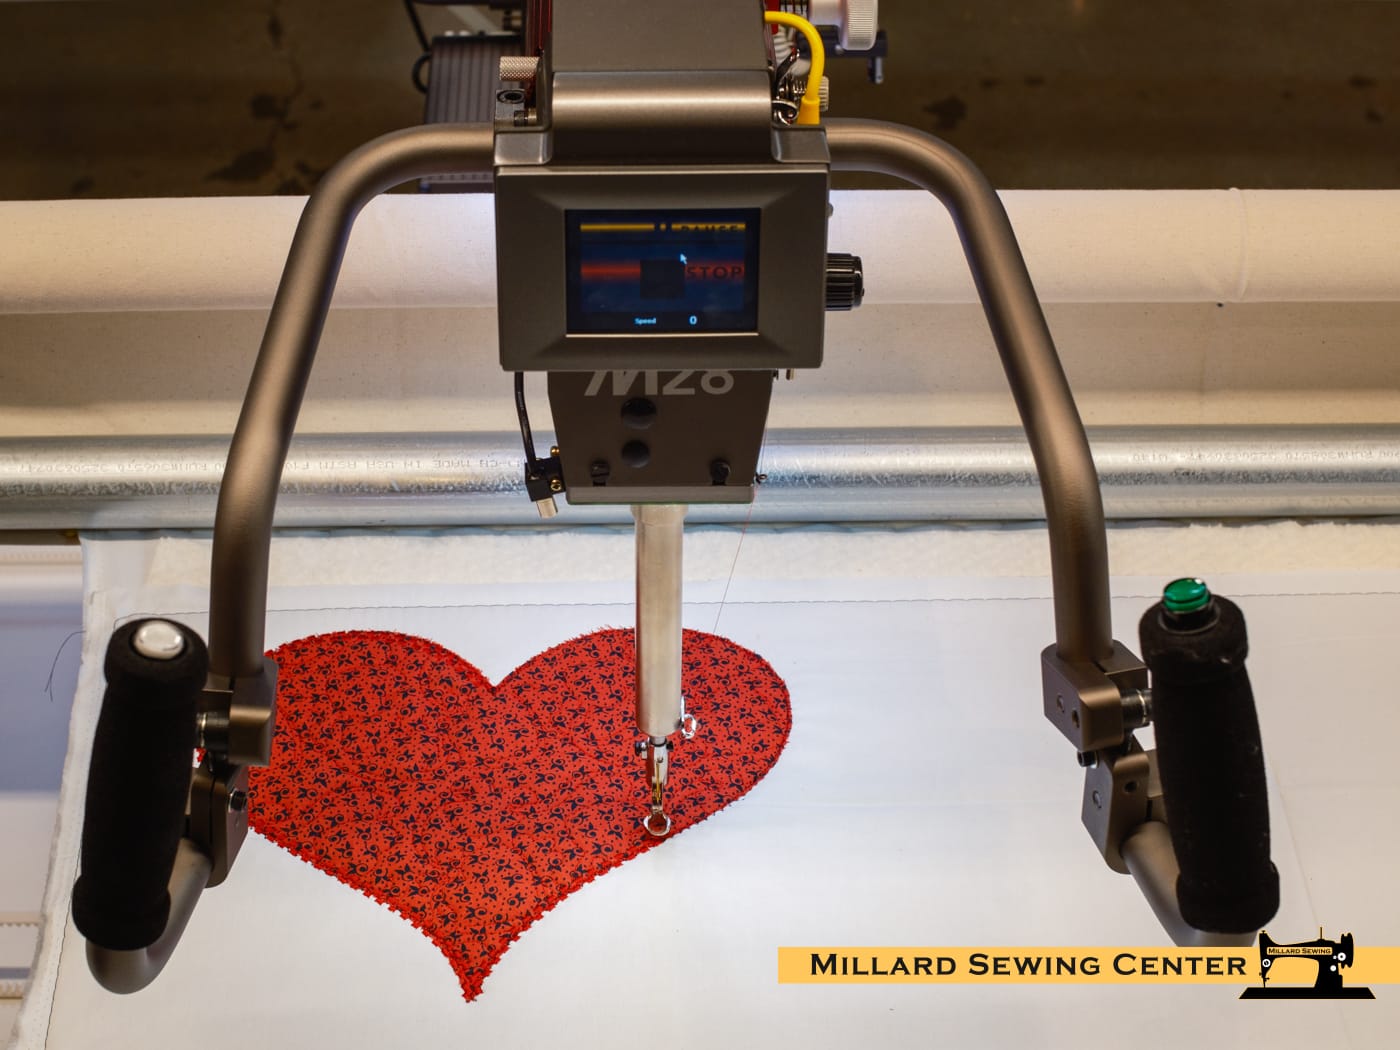

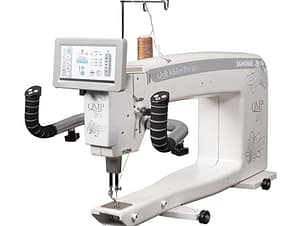
Innova Longarm Quilting Machine Training is a 3 day session designed to take you through all aspects of your machine.
- This training is included free with the purchase of any Innova Longarm Sewing Machine from Millard Sewing.
Day 1 will be spent on machine maintenance and setting tensions for different threads.
When we set up your longarm quilting machine, we’ll start with the basics:
- Making sure your machine is level and that the rails are properly installed and square. This helps reduce stress on the machine and its robotics.
- Next, we’ll check the carriage and machine wheels, confirming they’re secure and correctly installed.
We’ll then move on to the robotics, taking a deep dive into the machine’s inner workings. We’ll cover cord management to keep your workspace clear and safe, as well as the belts and their tension on both the X and Y axes. We’ll also cover proper threading of the machine and the bobbin winder, including how to adjust it for a perfect wind.
From there, we’ll discuss essential maintenance, such as oiling, greasing, and caring for the rails and encoders. We’ll also cover needles, including which type to use, how to install them, and when they need to be replaced.
Once the machine is ready, we’ll focus on getting your tension just right. We’ll go over changing the feet, adjusting the presser foot height, and the rotary tension assembly. We’ll show you how to set your pretension knob to the factory settings and how to achieve perfect tension balance using a TOWA gauge. We’ll also cover adjusting the bobbin anti-backlash spring and the top tension.
Nearing the end of day one, we’ll finish with timing. We’ll show you how to use a timing tool kit to make precise adjustments. You’ll learn how the needle bar affects timing and how to make manual adjustments.
We’ll wrap up the day with a deep dive into troubleshooting. You’ll learn how to identify and solve common issues like skipped stitches, thread breaks, and poor stitch quality. We’ll equip you with the knowledge and tips you need to keep your machine running smoothly.
Day 2 will concentrate on edge to edge quilting.
Get ready to master the INNOVA frame! We’ll guide you through every step of the quilting journey, starting with loading your quilt and pinning it to the leaders. After that, we’ll lay out the batting, baste the quilt top and sides, and advance the quilt to prepare for stitching. From there, we’ll dive into edge-to-edge quilting and explore the software together, getting you comfortable with the icons and helpful settings that simplify the process. Since selecting and setting up your patterns can take time, this part of the process will likely take all day and continue into day three.
Day 3 will consist of things like applique, masking, and other techniques needed to do custom quilting.
On the final day of training, we’ll dive into the world of custom quilting. We’ll focus on techniques like appliqué, masking, and other skills you’ll need to create unique designs.
Using a runner-sized panel, we’ll walk you through several advanced features. You’ll learn how to:
- Create a crosshatch pattern.
- Build a custom pattern and a wreath.
- Use the V Boundary tool and Autofit.
- Join multiple patterns and use mask & path apply.
- Work with a simple fill block and combine patterns.
- Master the multi-point boundary tool.
- Construct intricate borders.
By the end of this session, you’ll have the skills and knowledge to tackle a wide range of custom quilting projects.
Thinking About Purchasing a Machine?
This class is included free with qualifying machine purchases from Millard Sewing Center. If you take the class and purchase a qualifying machine within 30 days, we’ll credit the full class fee toward your machine purchase. It’s a great way to gain hands-on experience before making your decision.
Discover more from Millard Sewing Center
Subscribe to get the latest posts sent to your email.
Reviews
There are no reviews yet.