

Learn about how to measure, draft, and drape to create your own custom fit garments.
When creating garments, getting a certain shape or fit can be difficult when strictly following pre-existing patterns. Creating your own patterns through drafting and draping can expand your capabilities when creating unique silhouettes, comfortable fits, and one-of-a-kind garments.
When to Make Patterns
The very first thing to note is that pattern drafting and draping requires prior knowledge of garment construction and pattern use. Experience is essential to succeed when working with patterns, altering them, and creating different types of garments with patterns. For an easier method, try ripping the seams of clothing that fits and recreating patterns from those starting points instead of from scratch.
Drafting and draping are two different ways to create your own patterns. You will find both techniques useful, as they work best for different fits. Creating your own patterns is the next step forward when becoming a professional at creating apparel.
Making your own patterns is best for people who may struggle with finding patterns in their sizing, or in their specific styles. Both techniques focus on creating based on nothing but your own body measurements, and allow for a lot of customization.
Cosplayers and costume designers also customize their patterns to achieve certain looks either in dramatic silhouettes or for other people. Pattern creation allows these garments to replicate designs that may not be commonly available in modern patterns or designed for all body types.
Pattern Drafting: Must Knows
Pattern drafting is focused on measuring and creating patterns within a 2-D plane. Drafting is best for fitted garments, using math to predict how to fit fabric to a form.
Slopers:
For pattern drafting, slopers are important. Slopers are basic pattern pieces that fit against your body that are often used as a starting point for creating your own patterns. It has no pockets, buttons, and only a bit of ease, or excess space. These are optional, simple bases that you can use as a starting point for your pattern before adding darts, pleats, ease, pockets, buttons, and more.
Drafting Materials
For creating your own pattern, here are the tools you’ll need:
- Measuring tools
- Pattern Paper
- Both paper and fabric scissors
- Marking tools
- Muslin fabric
- Sewing supplies
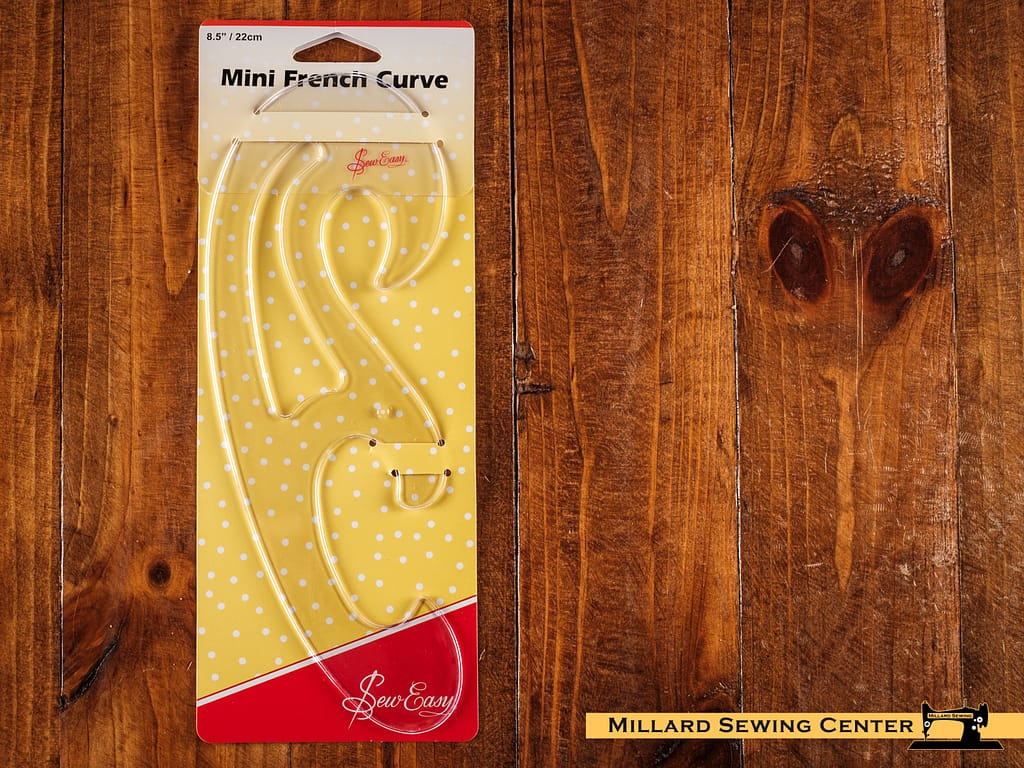
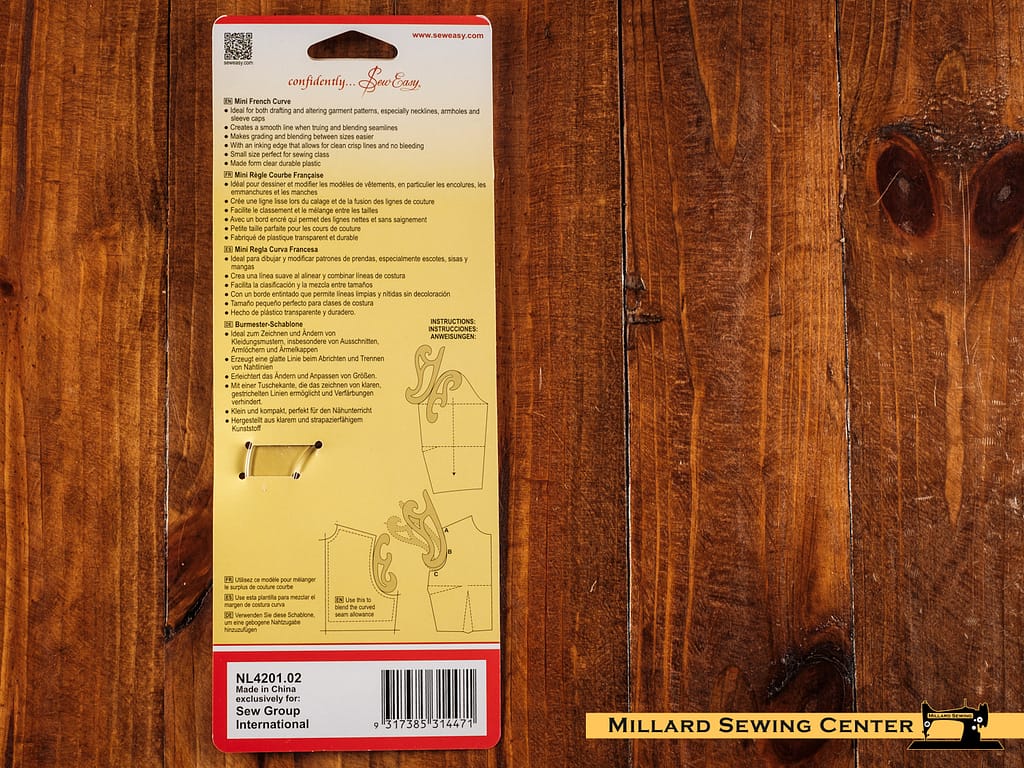
- Straight and curved rulers
- Cardstock or craft paper
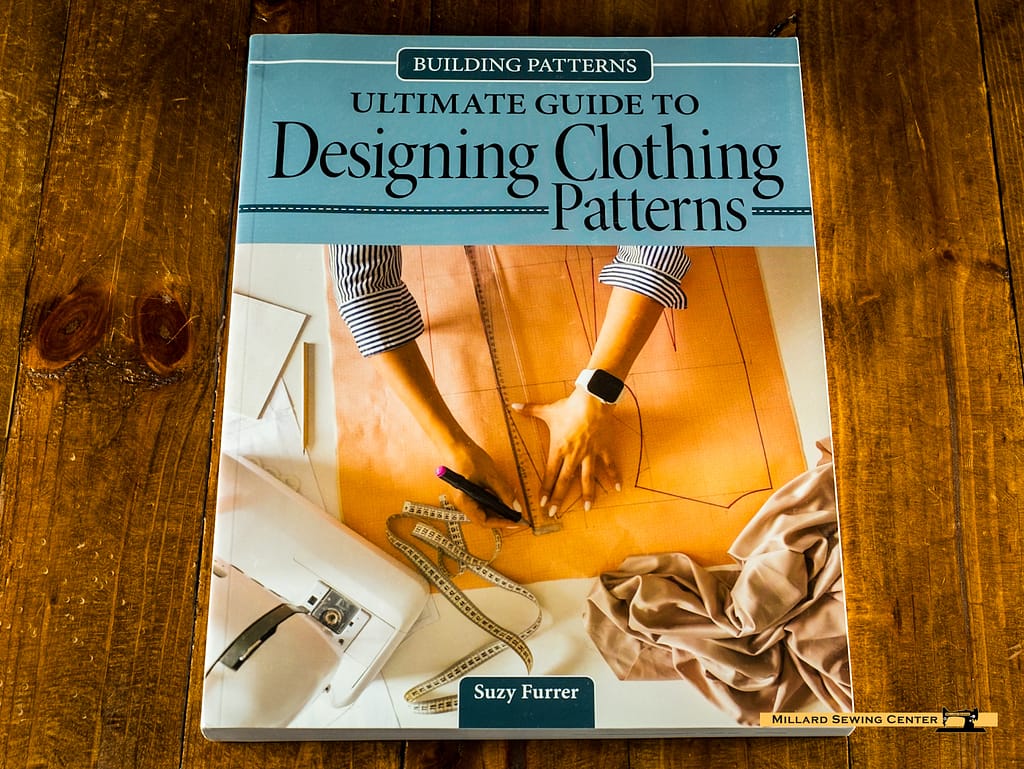
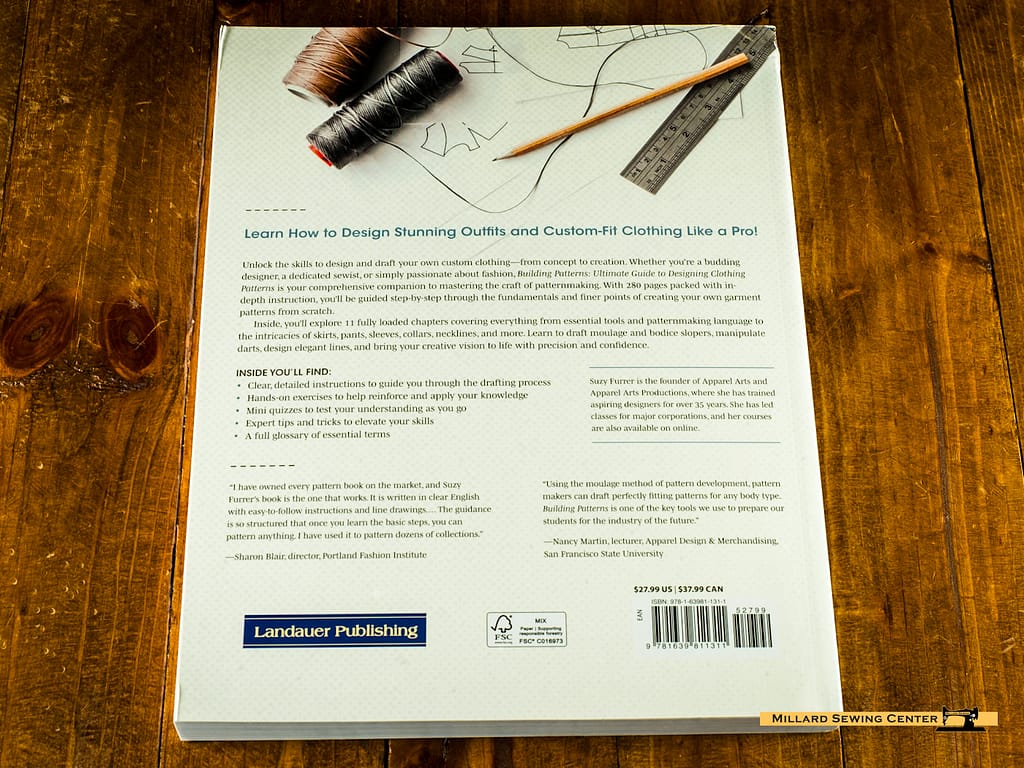
Pattern Book, Ultimate Guide to Designing Clothing Patterns by Suzy Furrer
Now Only $34.95
Currently out of stock. More available as soon as 10 days from the time you place your order.
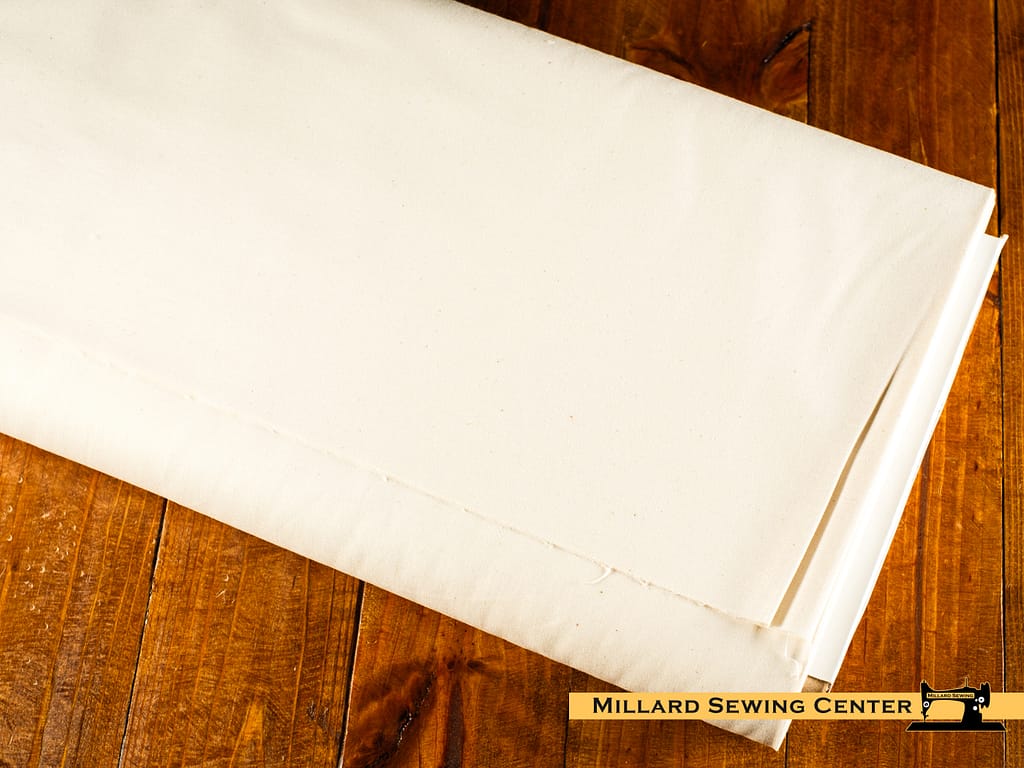
Cotton Fabric, 44″/45″ Wide Sew Essential in Muslin Natural by Maywood Studio
Now Only $5.95
In Stock (Large quantity orders may require additional lead time.)
Pattern Drafting Process
Drafting your own pattern starts with getting proper measurements. Consider how your body moves and measurements change when you breathe, sit, and stand naturally.
Use your sloper, a book, or guides to walk through how each measurement transfers into the markings on pattern paper. Add guidelines to where you want to add darts, pleats, gathers, and other details onto your pattern paper.
Transfer your pattern onto muslin fabric of similar weight, or a fabric with similar stretch and drape of your final fabric. Consider adding extra seam allowances when creating your mock up, so small alterations can be made easily.
Your measurements and 2-D pattern may not translate into 3-D easily. As your body moves, you may need to make adjustments in the garment. This is why muslin mock ups are important to be able to make alterations before using your final fabric.
Once you’ve made a pattern with a mock up that fits as desired, finalize your pattern by replicating it onto a stronger material such as cardstock. For slopers as well as all patterns, it makes it last longer, and storing and reusing easier.
Pattern Draping: Must Knows
Draping, compared to pattern drafting, is very physical and is pattern creation in 3-D. Draping is built on experimenting with the way fabric moves around a form and controlling it to your liking.
Dress Forms:
The most important part of draping is to have an accurate dress form. While there are some services that provide one to one, custom dress forms, they can be expensive, and don’t account for how your body may change. Adjustable dress forms are very affordable, and include adjustment at the waist, hip, bust, and more- however, padding and other shaping may be necessary to match your measurements and body shape accurately.
Draping Materials
For draping, these tools are important:
- Measuring tools
- Dress form
- Muslin fabric
- Marking tools
- Sharp pins
- Both paper and fabric scissors
- Pattern Paper
- Sewing supplies
- Straight and curved rulers
- Cardstock or craft paper


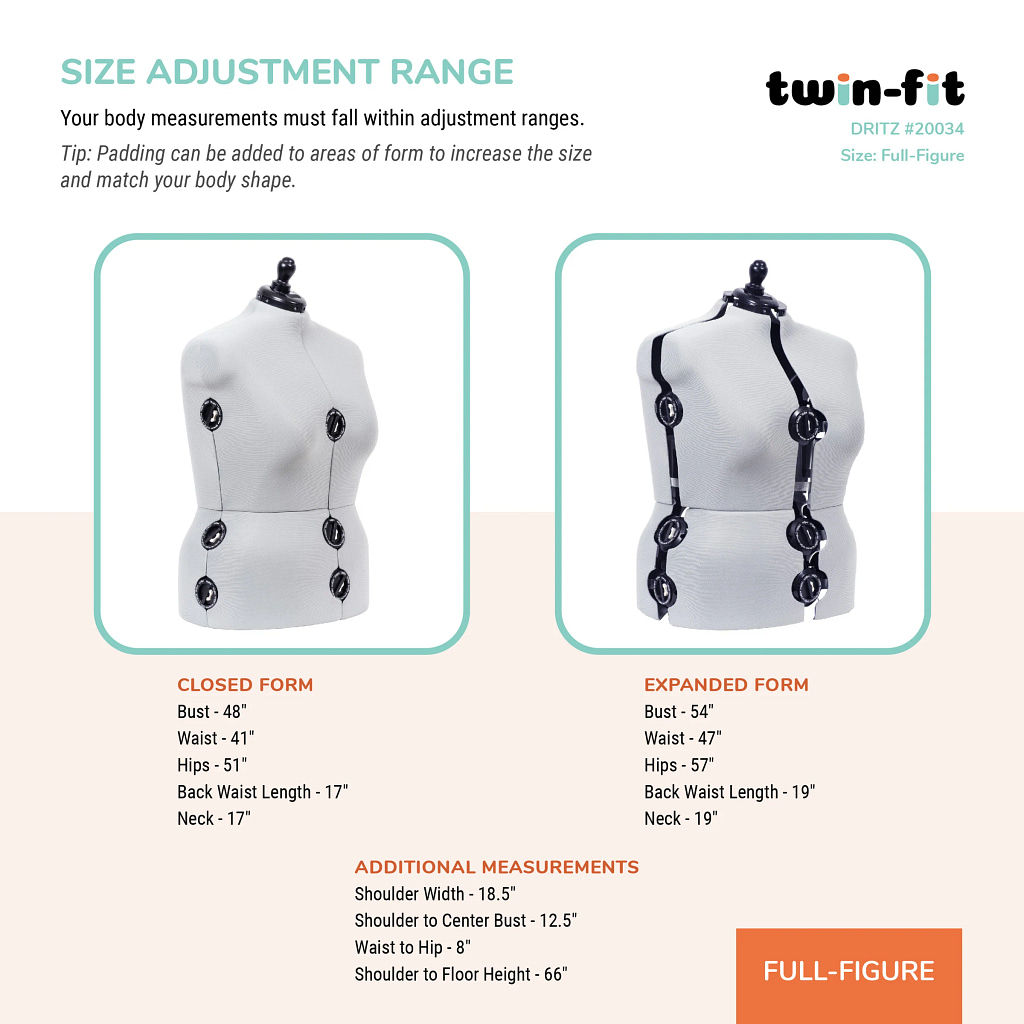
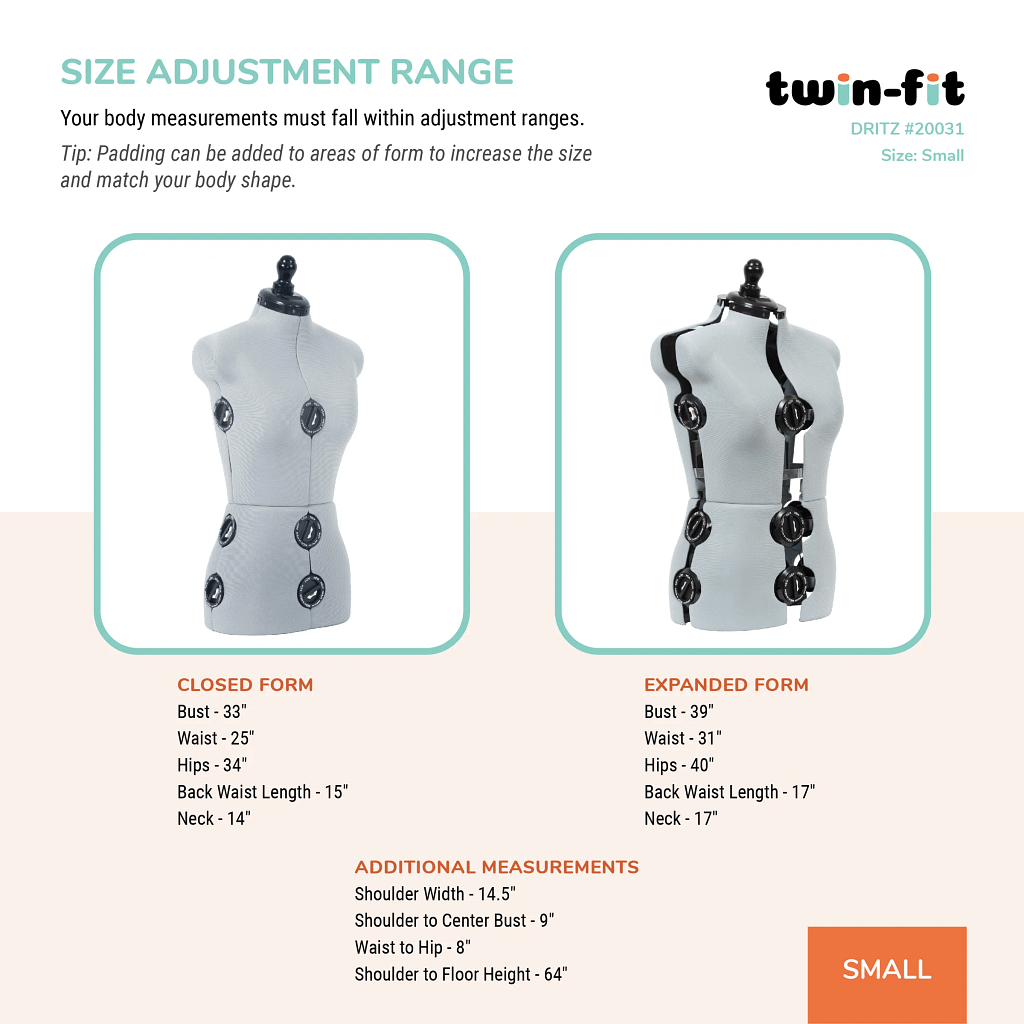
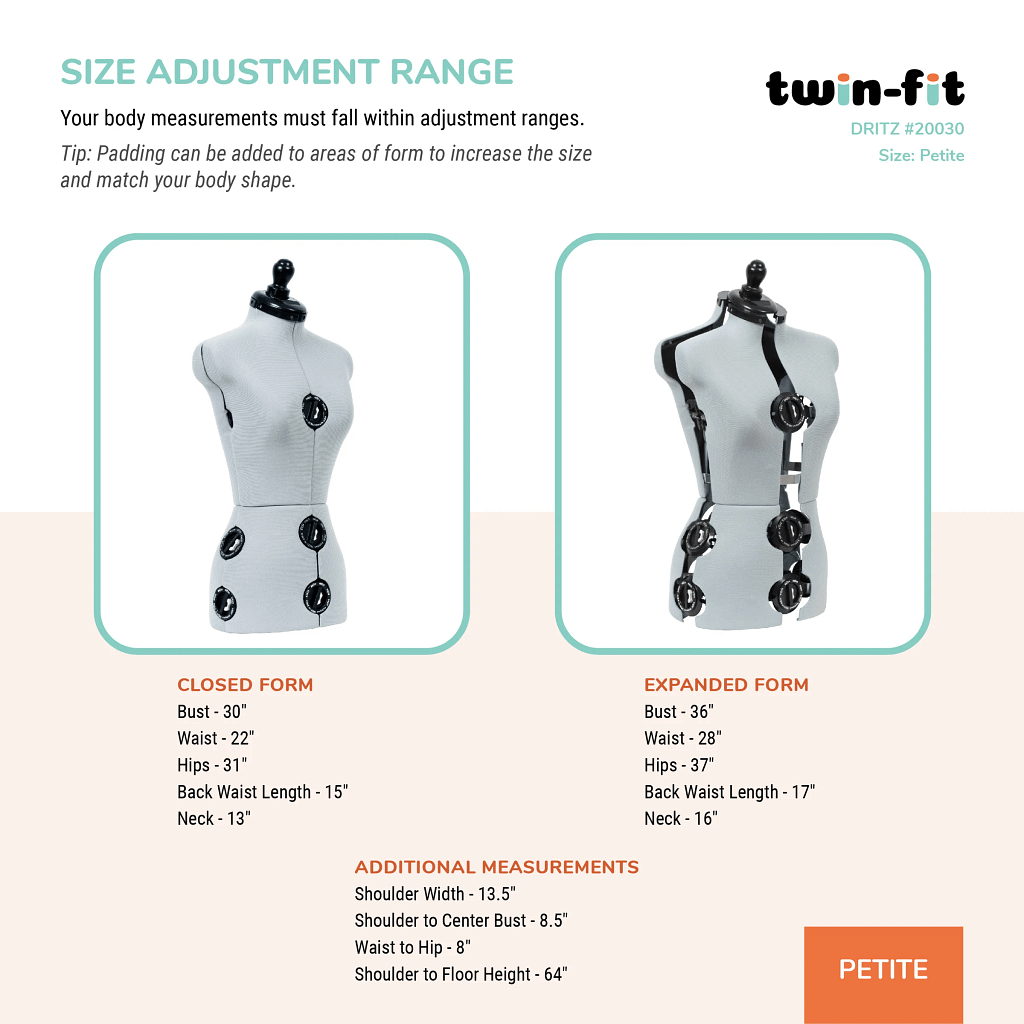
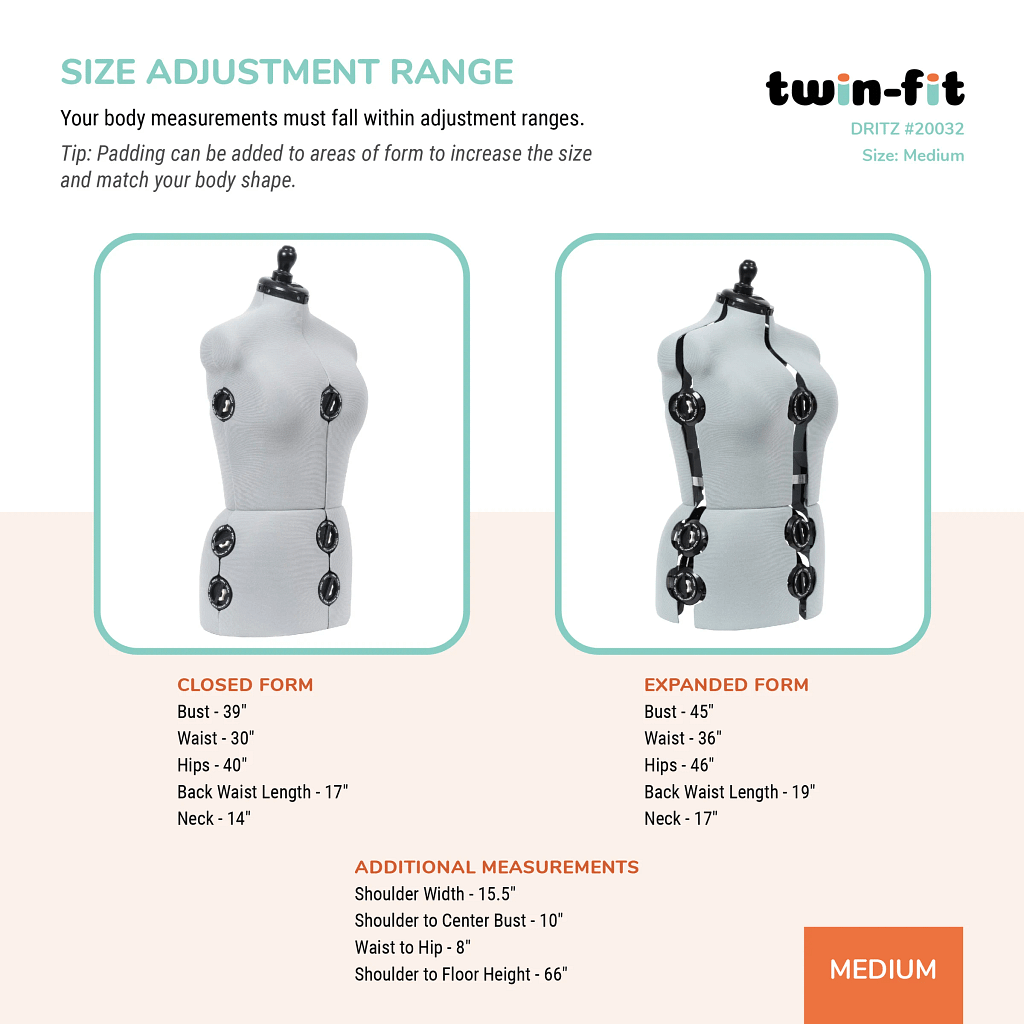
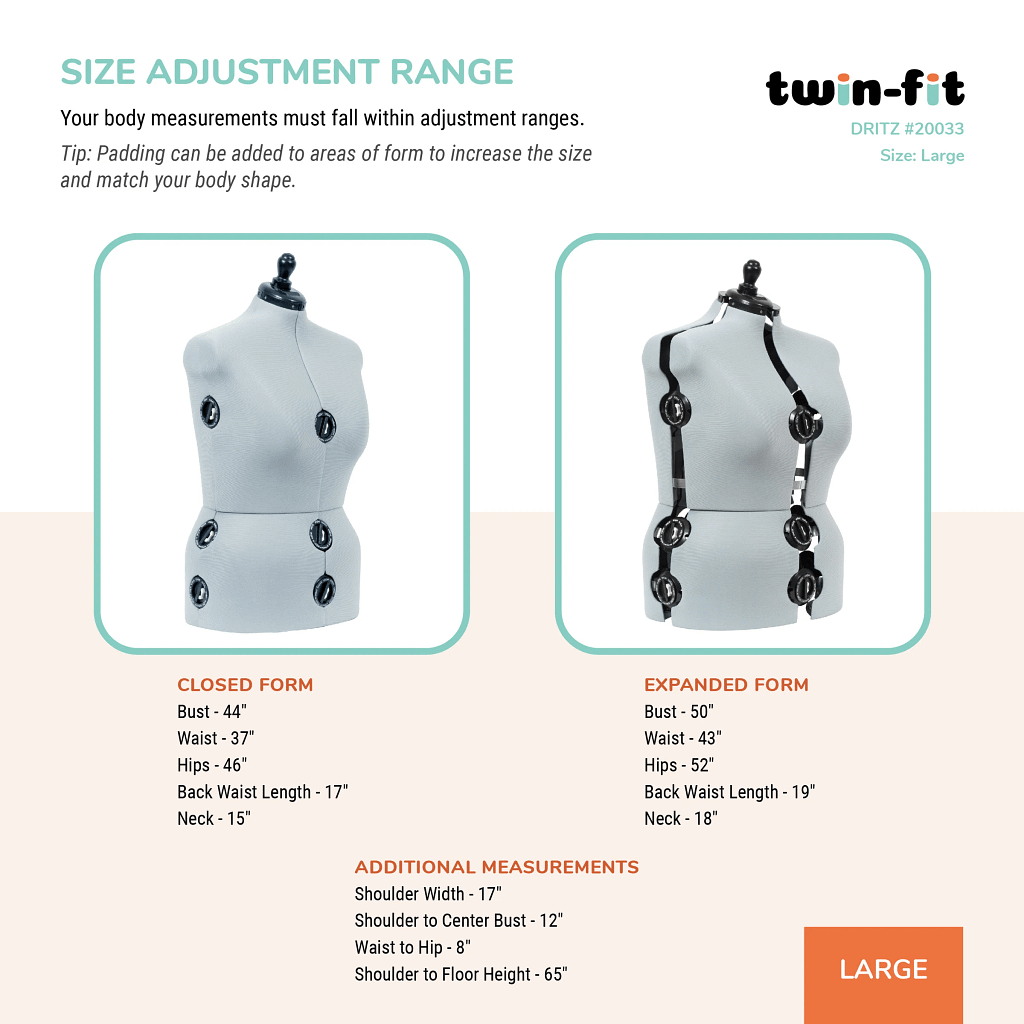
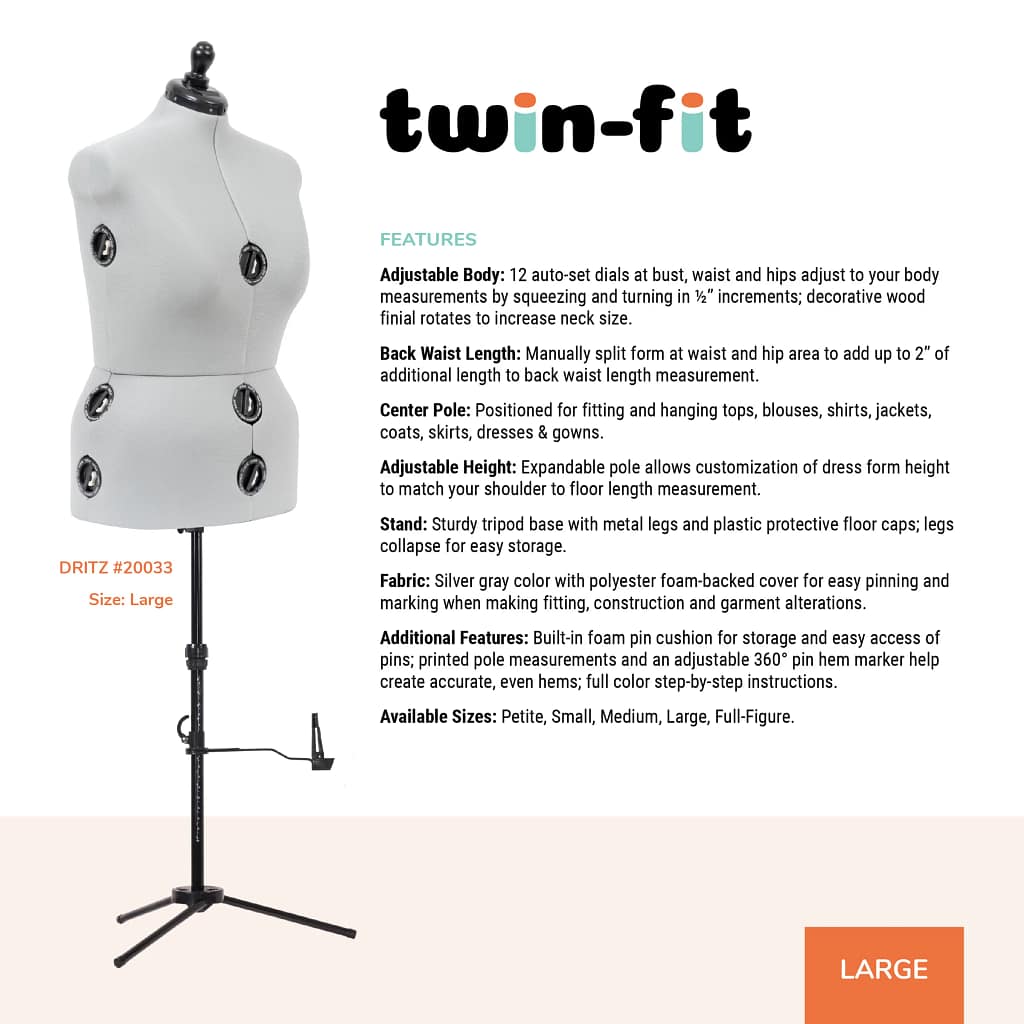
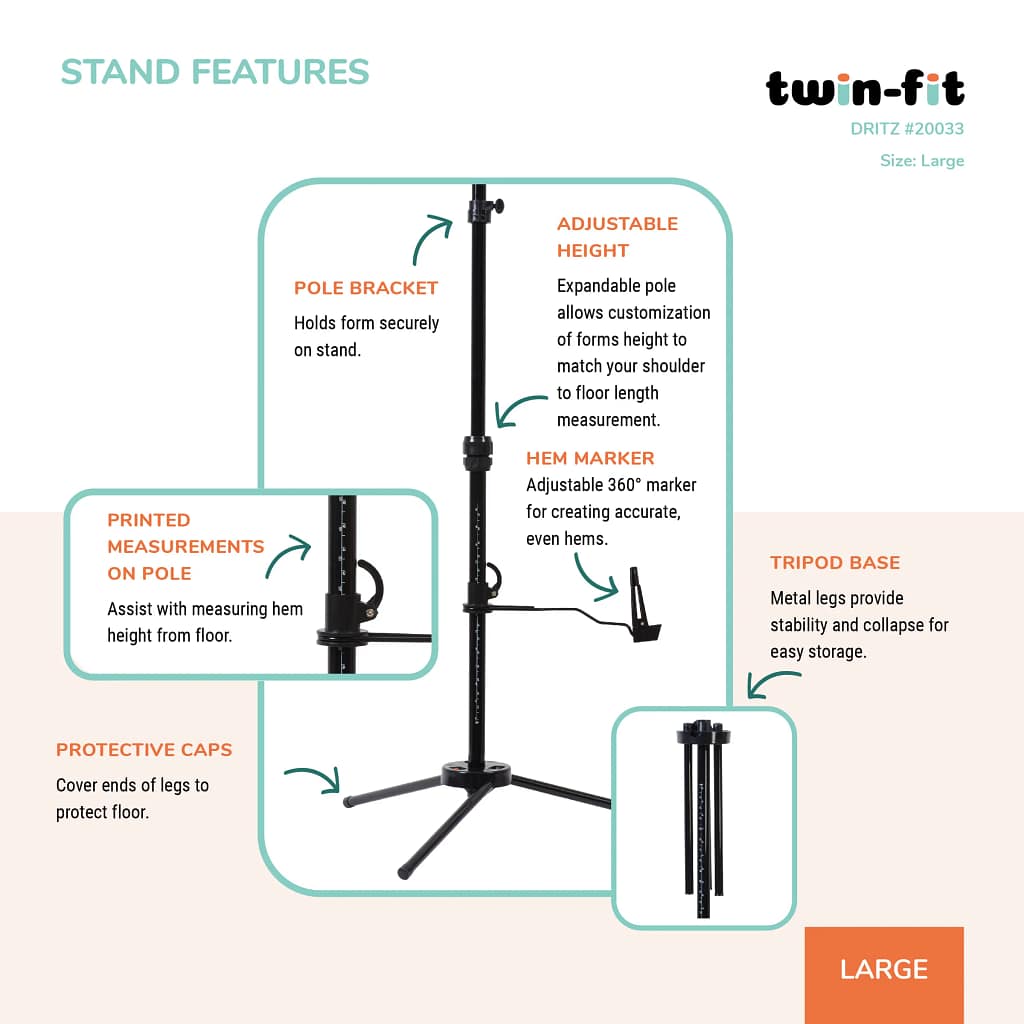
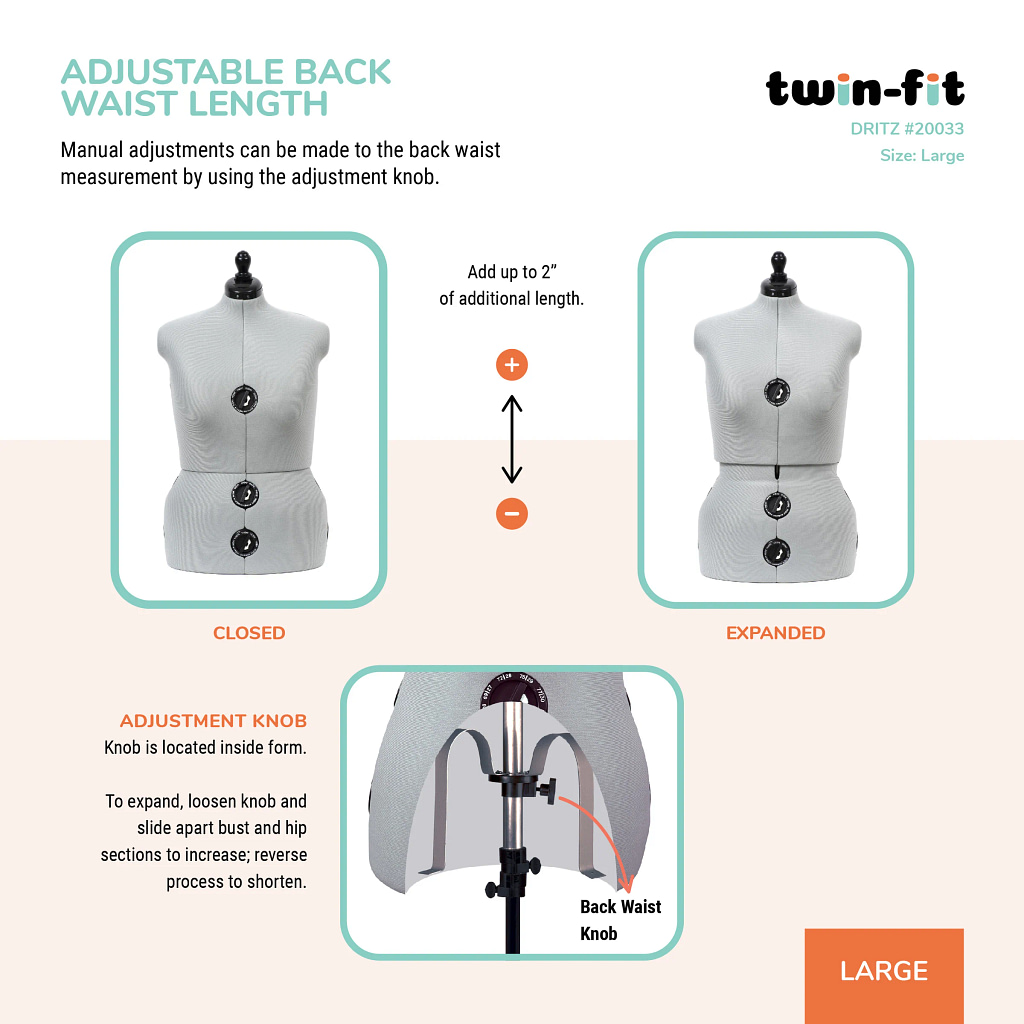
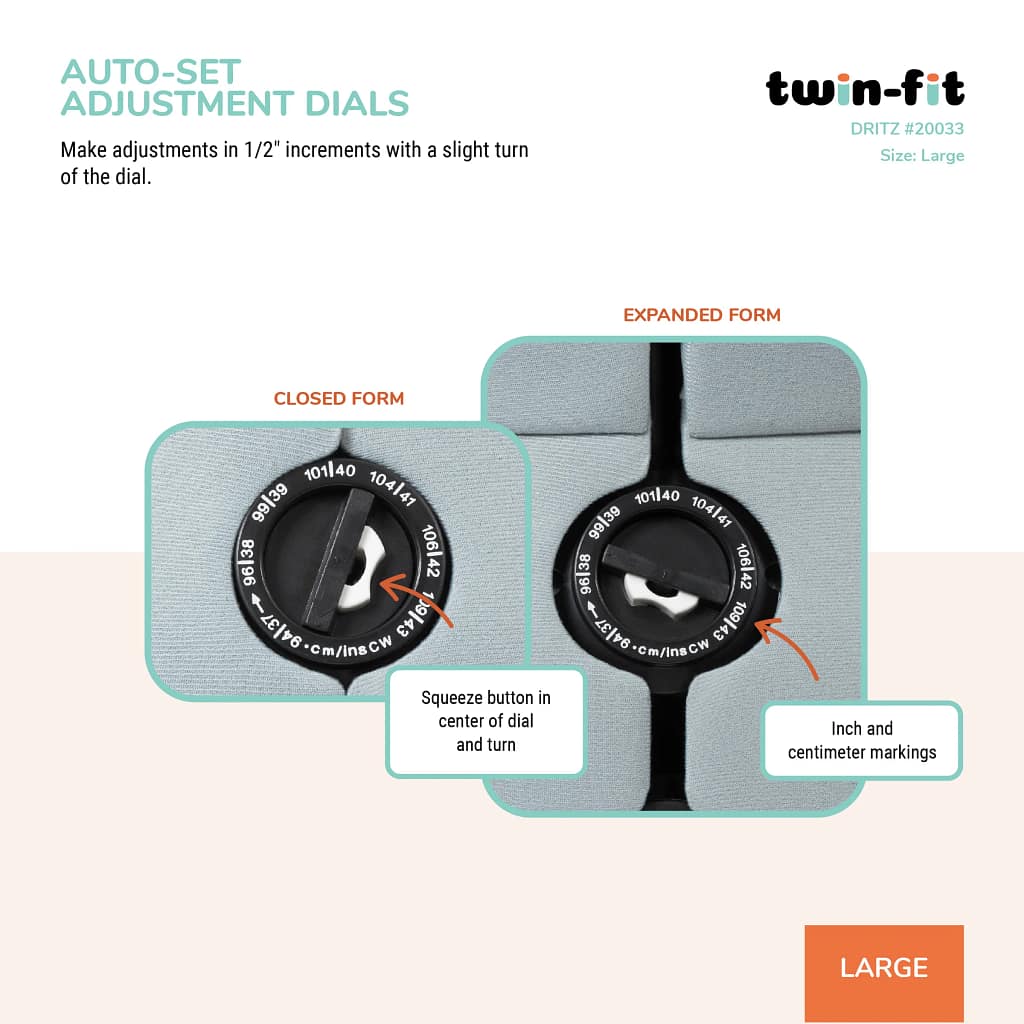
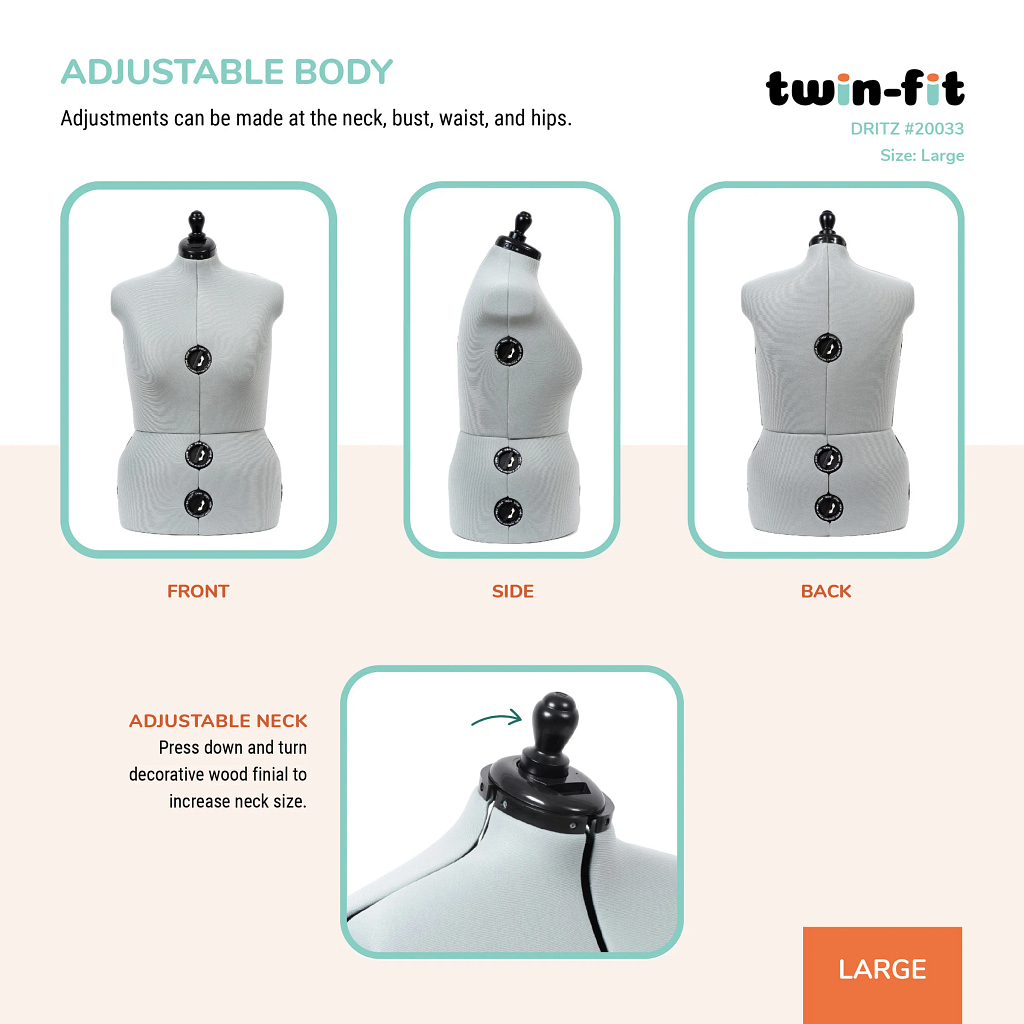
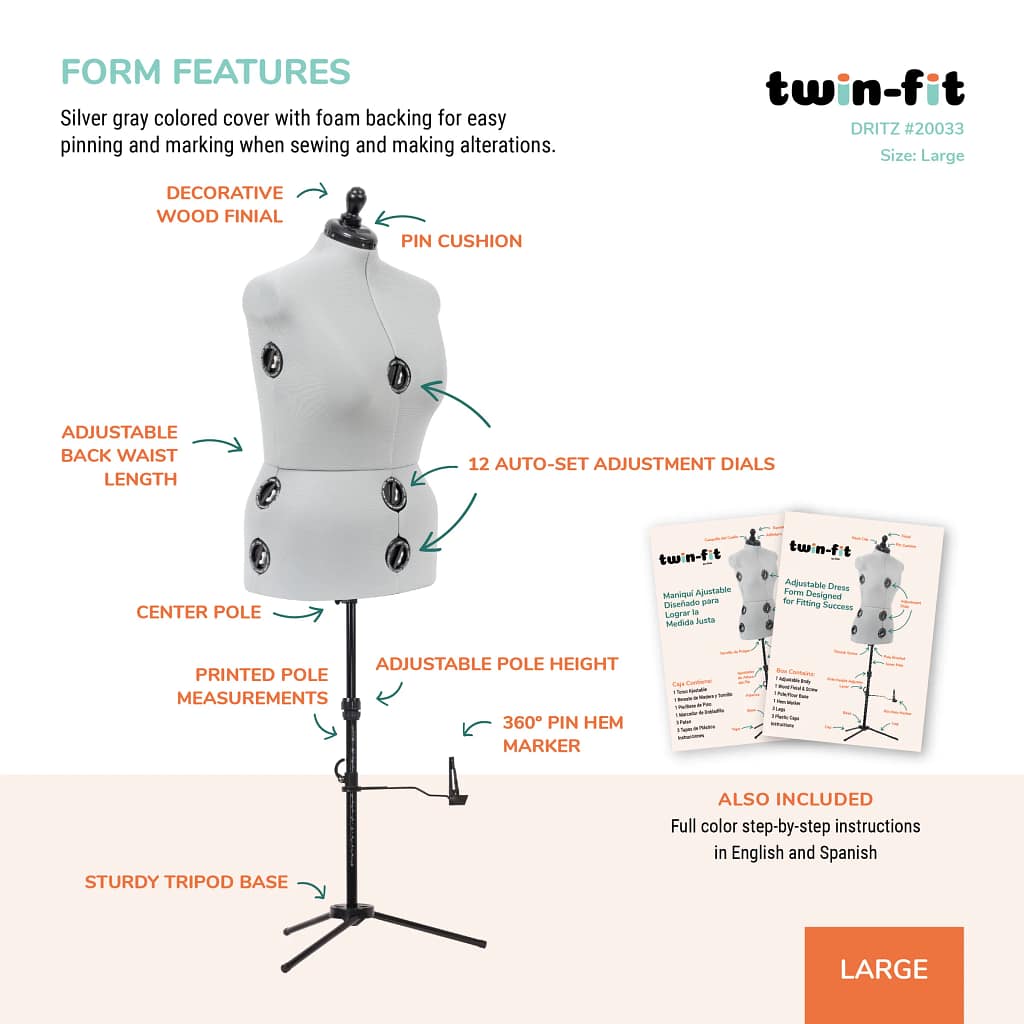
Dress Form, Adjustable Adult Sizes Petite to Full Figure Twin Fit Design by Dritz
Now Only $229.95
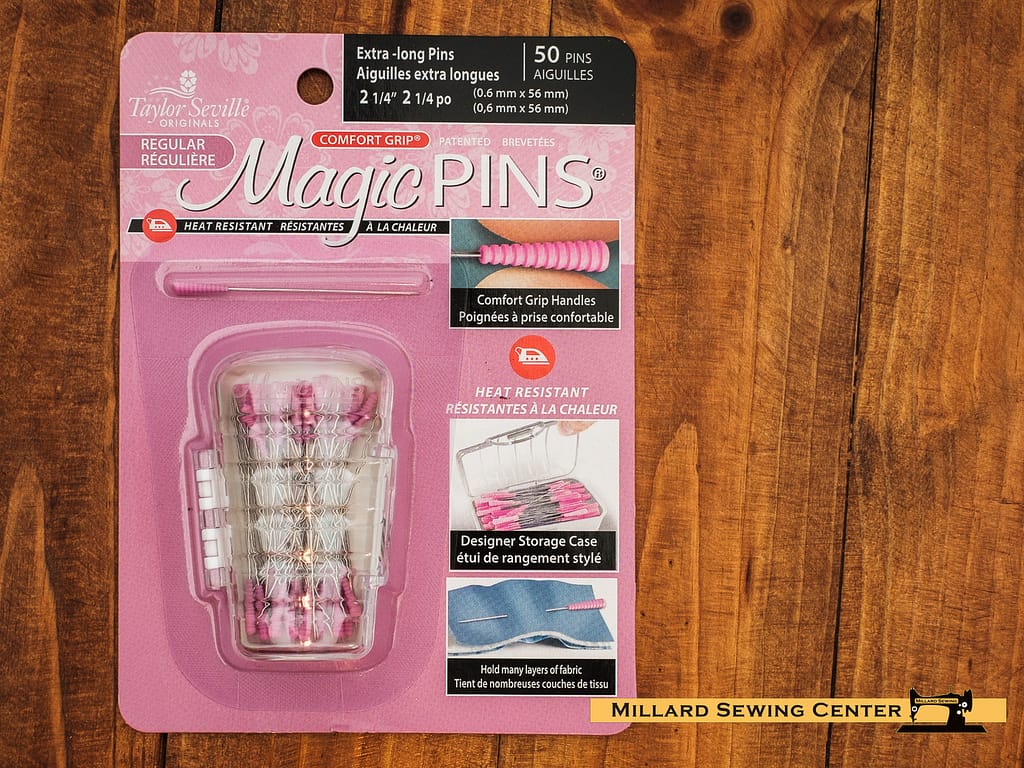
Pins, Regular Extra Long Magic Pins by Taylor Seville
Now Only $10.95
In Stock (Large quantity orders may require additional lead time.)
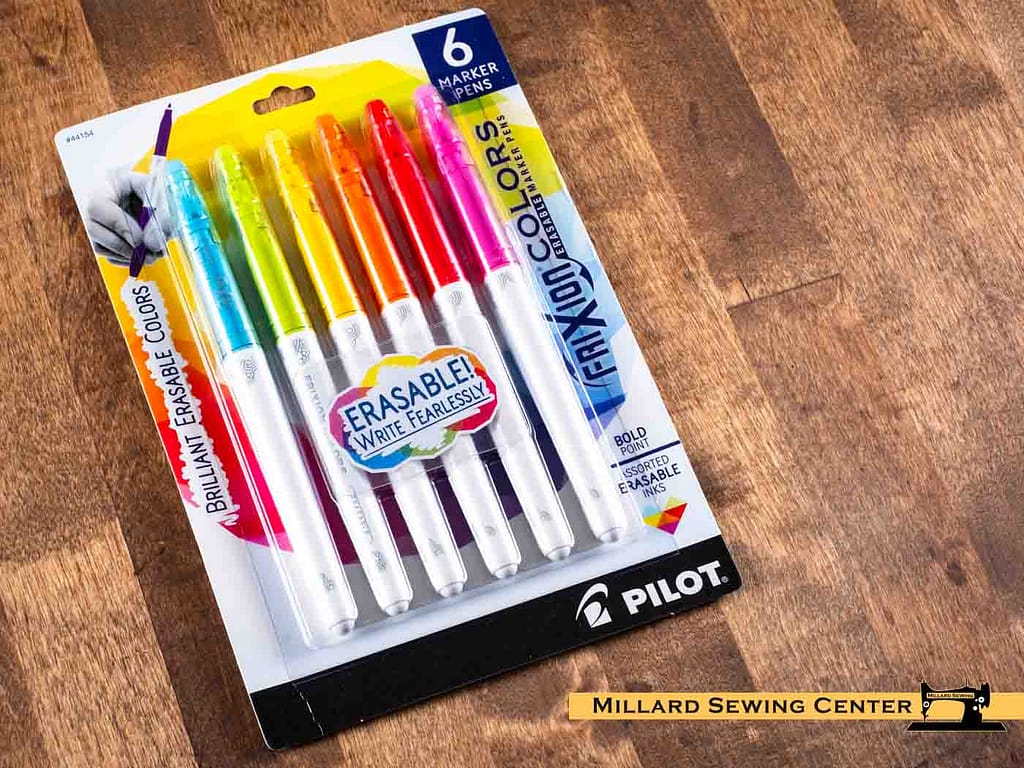
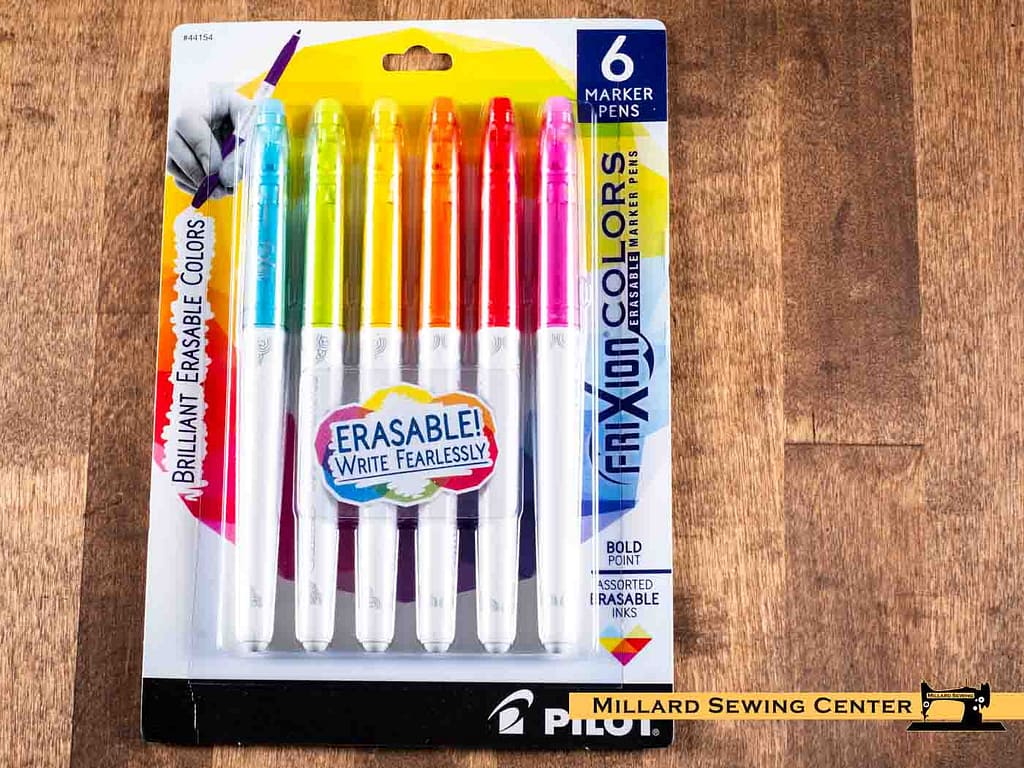
Marking Pen Set, Frixion Erasable Gel Pen 6ct Set in Bold Colors by Pilot
Now Only $11.95
Currently out of stock. More available as soon as 7 days from the time you place your order.
Pattern Draping Process
All pattern creation starts with getting proper measurements. Consider how your body moves and measurements change when you breathe, sit, and stand naturally. Set your dress form to these measurements.
Choose a muslin or fabric with similar weight, stretch, and drape to your final garment. Consider marking the grain line in your muslin or draping fabric, and begin laying your fabric onto your dress form to your desired silhouette.
Experiment with the way fabric lays, and use pins to hold up the fabric as well as add pleats, darts, gathers, and other details. Properly mark your seams, folds, and darts before removing the fabric from the dress form.
Once removed, cut excess fabric away. Replicate your draped fabric onto a flat pattern piece, marking your designs, and using a straight ruler or curved ruler for lines. Keep the pattern aside, and use your fabric to create a mock up- with extra seam allowances for easy alterations.
Once you’ve made a pattern with a mock up that fits as desired, finalize your pattern by replicating it onto a stronger material such as cardstock. For slopers as well as all patterns, it makes it last longer, and storing and reusing easier.
Related Resources
Helpful pages to keep learning.