There is just something about the vintage sewing machines that can be very alluring. They are usually pretty simple and whether you pick up a name brand machine like a Singer or something a little lesser know like our example machines here, the biggest problem is often the wiring. Many of these machines can be still found in working condition where the standard oiling procedure and maybe a bit of a tension tweaking is all that’s needed to get them going again. After this much time has passed however the wiring is often brittle and crumbling. If you are a stickler for all original parts, then this article isn’t for you, and you should check out our rewire services. If however you are looking for some easy DIY options to get that classic back to stitching then read on!
Motor Mounting:
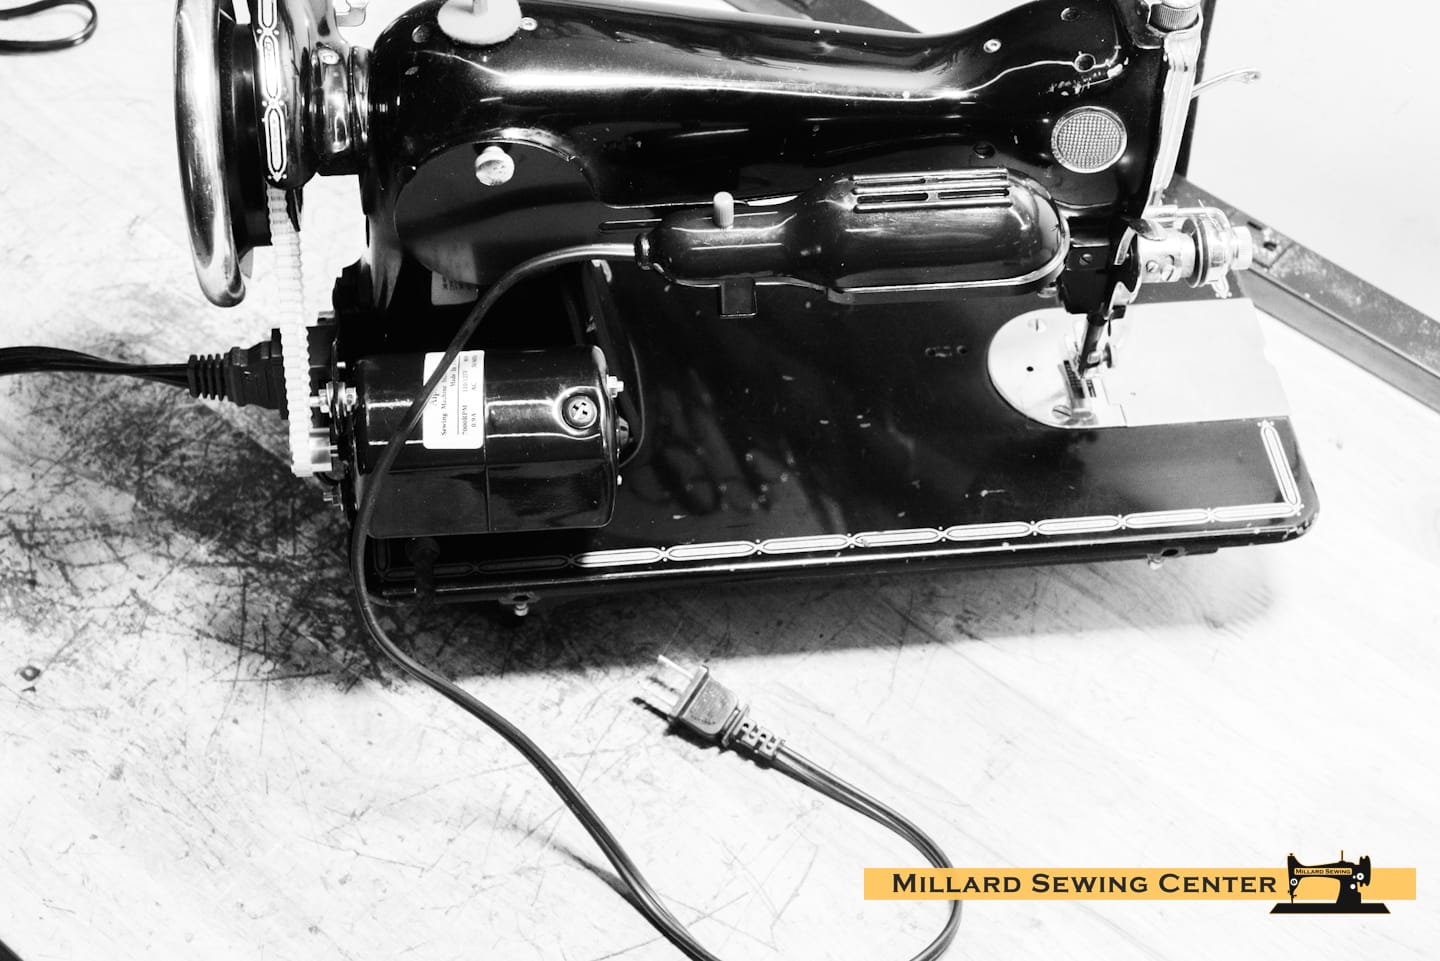
The first step to replacing your original motor is to determine how it mounts to the machine. The most popular method is to use a single screw to hold the motor bracket to the side of the machine just under the handwheel. If you have something different than your replacement may have just gotten more complicated. In some cases a rewire may be your only option.
K Bracket vs L Bracket:
The easiest thing to determine which bracket type to shop for is to see what came off of your machine to begin with. If you know what it was, then you know what you need to replace it with.
-
 K Type Motor Bracket$3.95
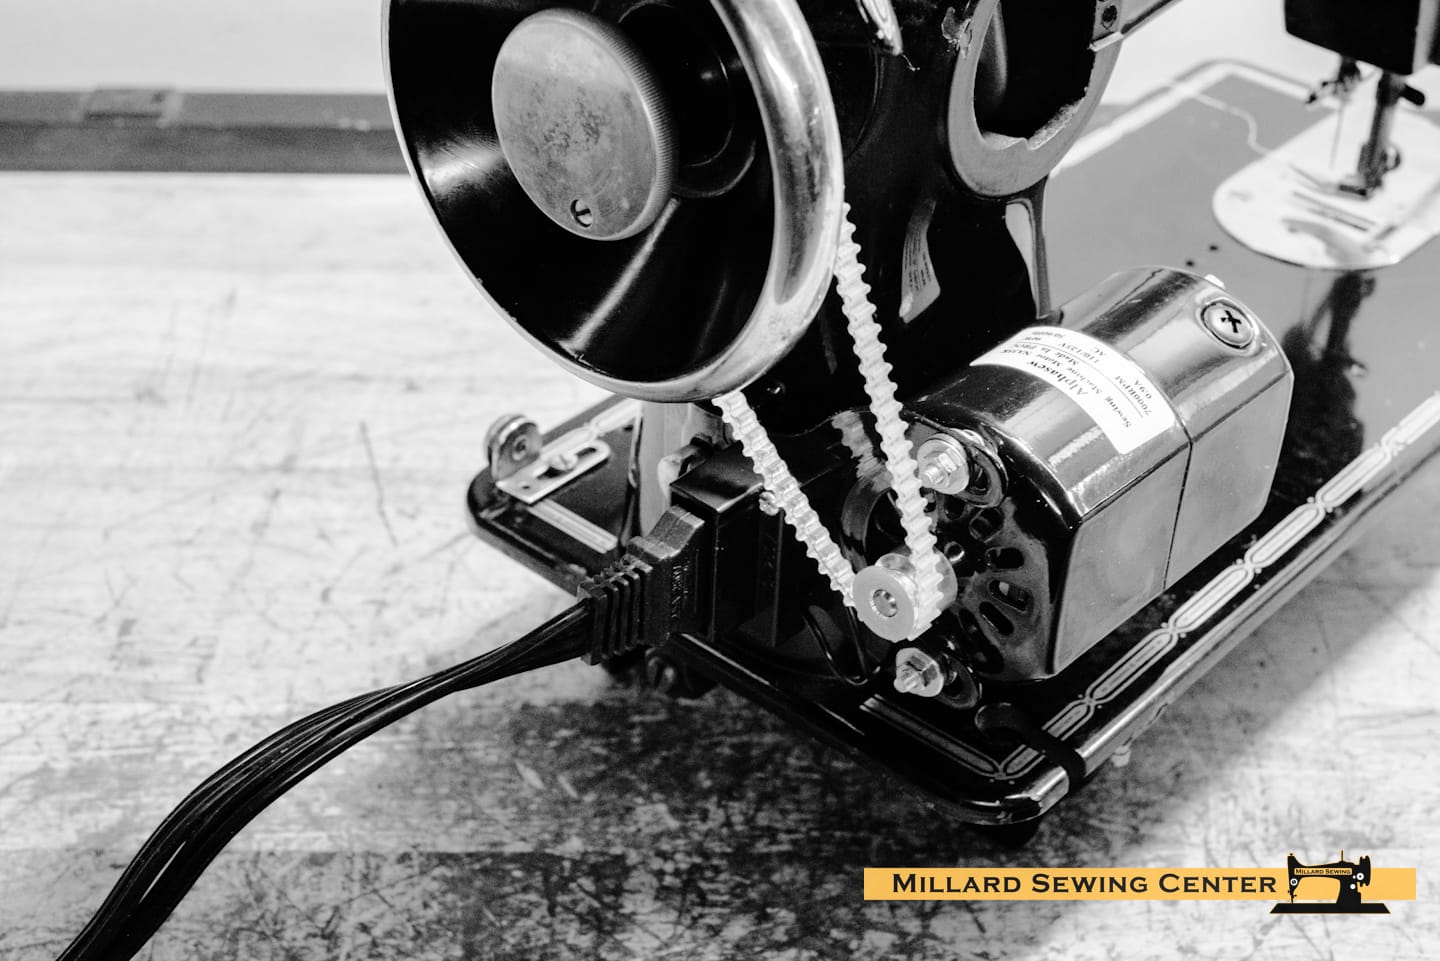
The “K” Bracket type mount is what is used on most classic Singer Sewing Machines and Many Singer clone machines. There is a bit of adjustment available for machine clearance by moving the motor front to back in the slotted holes and the belt adjustment can be handled by moving the pulley slightly or by adjusting the placement of the washers and bushings that mount the motor to the bracket.
-
Product on saleElectric Motor, Universal Fit 1.5 Amp with “K Bracket”Original price was: $44.95.$39.95Current price is: $39.95.
-
Electric Motor, Universal Fit 0.9 Amp with “K Bracket” Clockwise Rotation$37.95
-
Electric Motor, Universal Fit 0.9 Amp with “K Bracket”$37.95

-
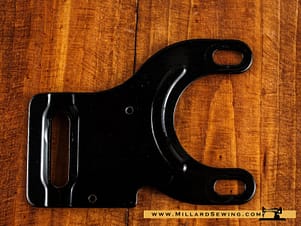
L Type Motor Bracket$4.95
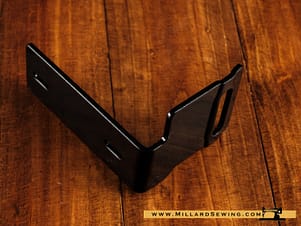
If your machine has an original L Bracket mount motor similar to this like the Pfaff 130, you will want to stick with the L Bracket motors. Often you will want to reuse your original bracket to maintain the the proper machine clearance. Belt alignment on these is handled by adjusting the motor in and out using the slotted holes in the bracket.
-
Product on saleElectric Motor, Universal Fit 1.5 Amp with “L Bracket”Original price was: $55.95.$49.95Current price is: $49.95.
-
Electric Motor, Universal Fit .9 Amp with “L Bracket”$39.95
-
Electric Motor, Universal Fit 0.9 Amp with “L Bracket” Reverse Rotation$37.99
Rotation:

Most sewing machines are designed to sew when turned in a counterclockwise rotation. This means that when you look at the machine from the side that the top of the handwheel moves to the left and the bottom moves to the right. Some notable exceptions to this are a large number of Serger sewing machines, and friction drive sewing machines which turn clockwise. Motors are available for both options, but you do need to know this before you order. Most sewing machine motors are not easily reversible.
Easy No Wire Options:
The Block Cord Option:
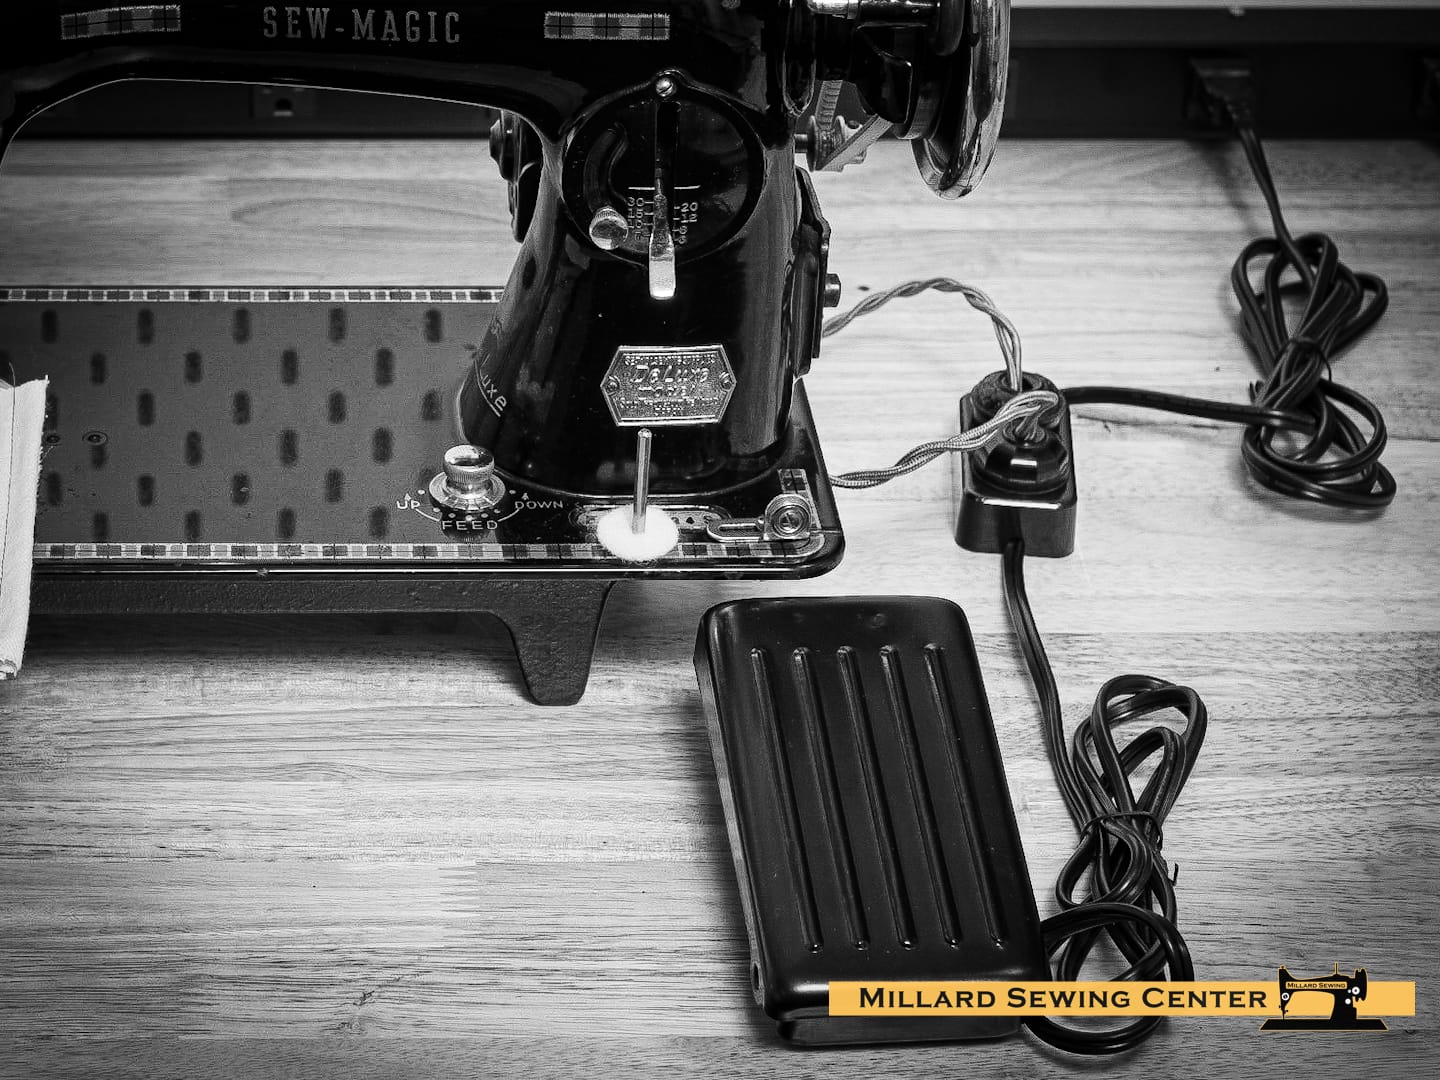
The block cord is commonly found on a lot of the lesser known brand name vintage sewing machines. These look very similar to a standard electrical outlet and are mounted either in the right side of the case or in the lower part of the cabinet. Your motor simply plugs into the correct side of the block cord. You can choose any motor that comes with a standard 120v plug and simply plug it in, and it is also available with or without a foot control or knee control.

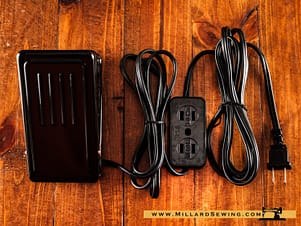
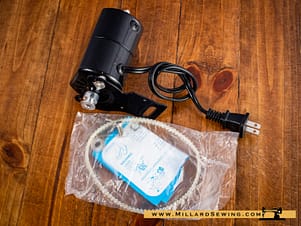
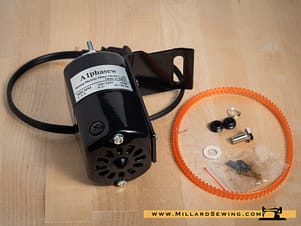
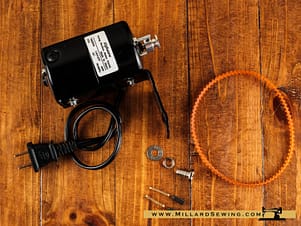
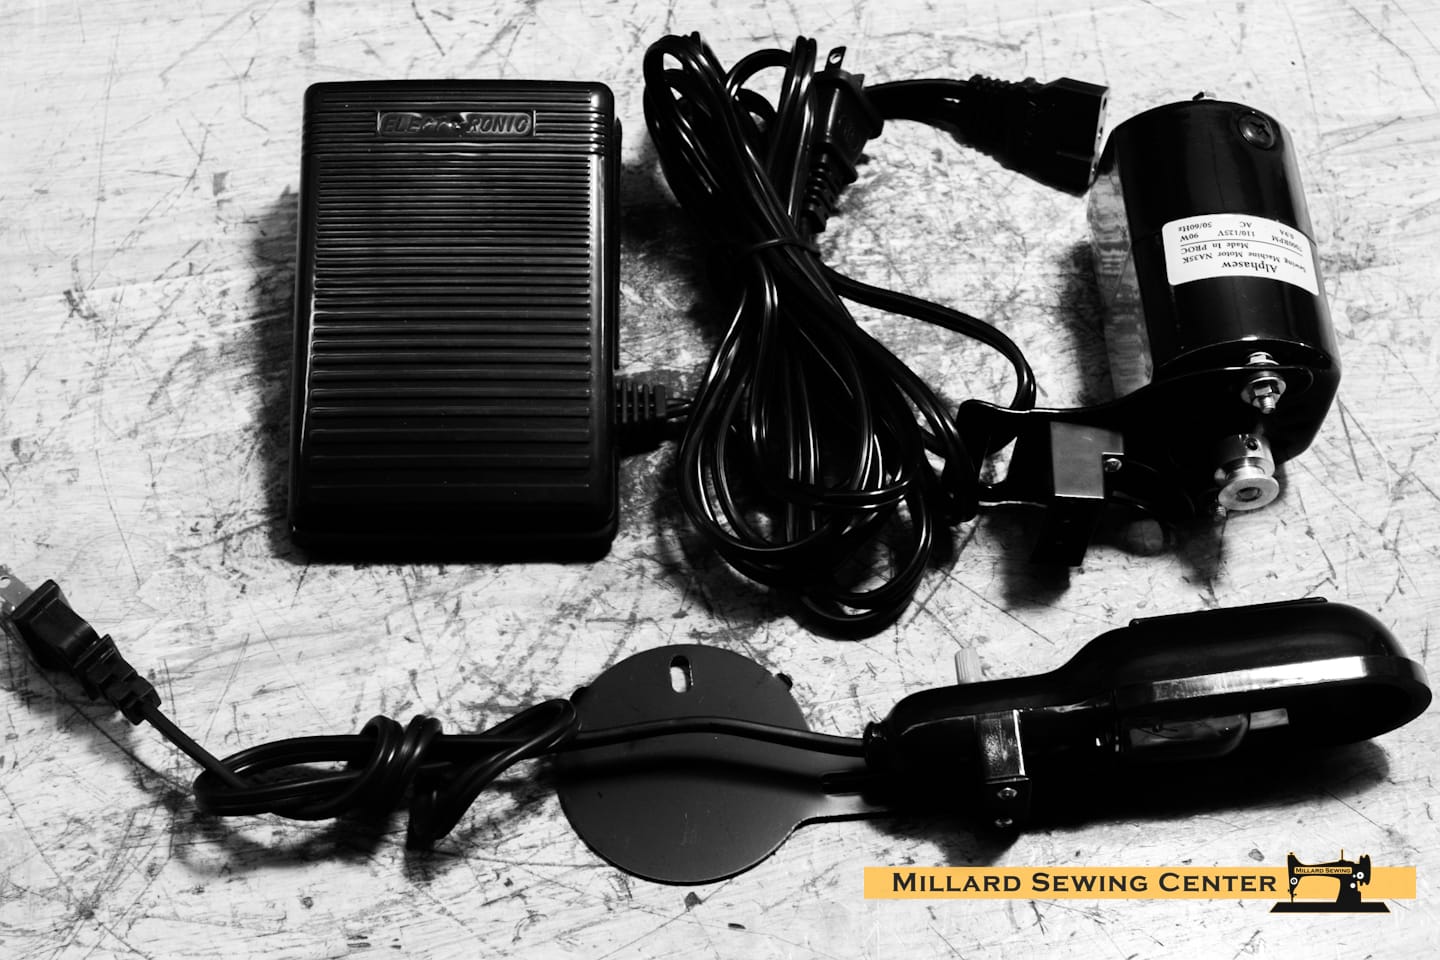
The Motor Kit Option:
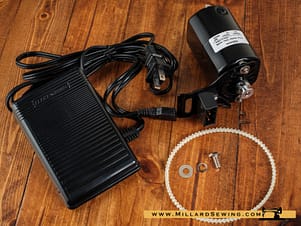
The alternative to the block cord for the machines that require a K Bracket style motor is to run a Motor Kit. These include the motor and foot control in one single kit and offer a more modern type plug than the block cord. The other advantage that the motor kit offers is the easy ability to unplug the cord and wind it up separately as opposed to having the block permanently mounted in your case or cabinet.
-
Electric Motor Assembly & Foot Control Bundle, Reverse Rotation$59.95
-
Product on saleElectric Motor Assembly & Electronic Foot Control Bundle for Your Classic Sewing MachineOriginal price was: $59.95.$54.95Current price is: $54.95.
-
Product on saleElectric Motor Assembly & Carbon Foot Control Kit for Your Classic Sewing MachineFrom $45.95

Adding A Light:
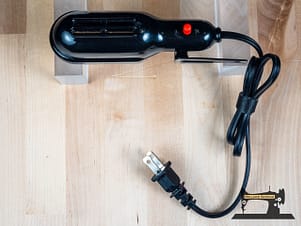
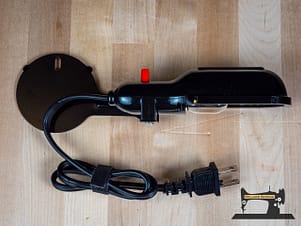
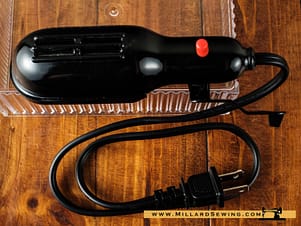
Adding a light to many sewing machines is pretty easy. If your machine is a Singer or Singer clone one of the 3 replacement lights below will screw on in place of the original lamp. They are all terminated with a 120v type plug making them easy to plug into a block cord or extension cord. The Add on lights are mounted with adhesive or magnetic mounts, and again can be plugged either directly into the wall or to the block cord.
Replacement Lights
-
Product on saleLight for Vintage Singer Or Similar Sewing MachineOriginal price was: $24.95.$21.95Current price is: $21.95.
-
Product on saleLight for Singer Or SimilarOriginal price was: $49.95.$39.95Current price is: $39.95.
-
Light Assembly for Singer Sewing Machines$24.95
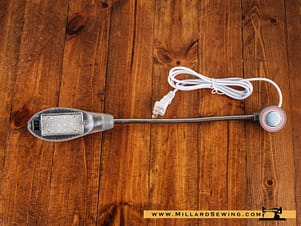
Add On Lights
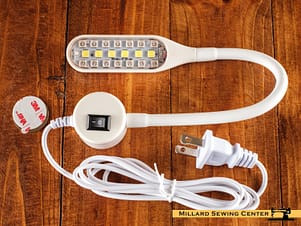
-
Product on saleLight, Adjustable LED with Magnetic BaseOriginal price was: $24.95.$21.95Current price is: $21.95.
-
LED Task Light$16.95
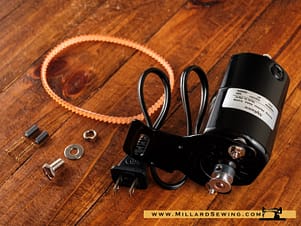
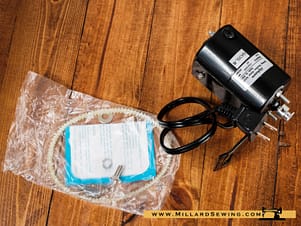
Adding A Light To A Motor Kit:
There’s no point to having the convenience of a motor kit with the ability to easily unplug the cord from the machine if you have a second plug for the light that you have to manage. That is why we came up with this simple kit to give you the components you need to hardwire your light to your motor kit.
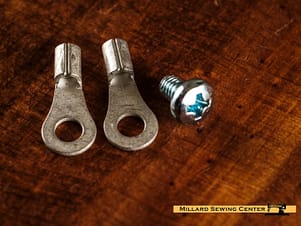
This is accomplished in a few easy steps:
Remove the 2 screws that hold the power connector to the motor bracket.
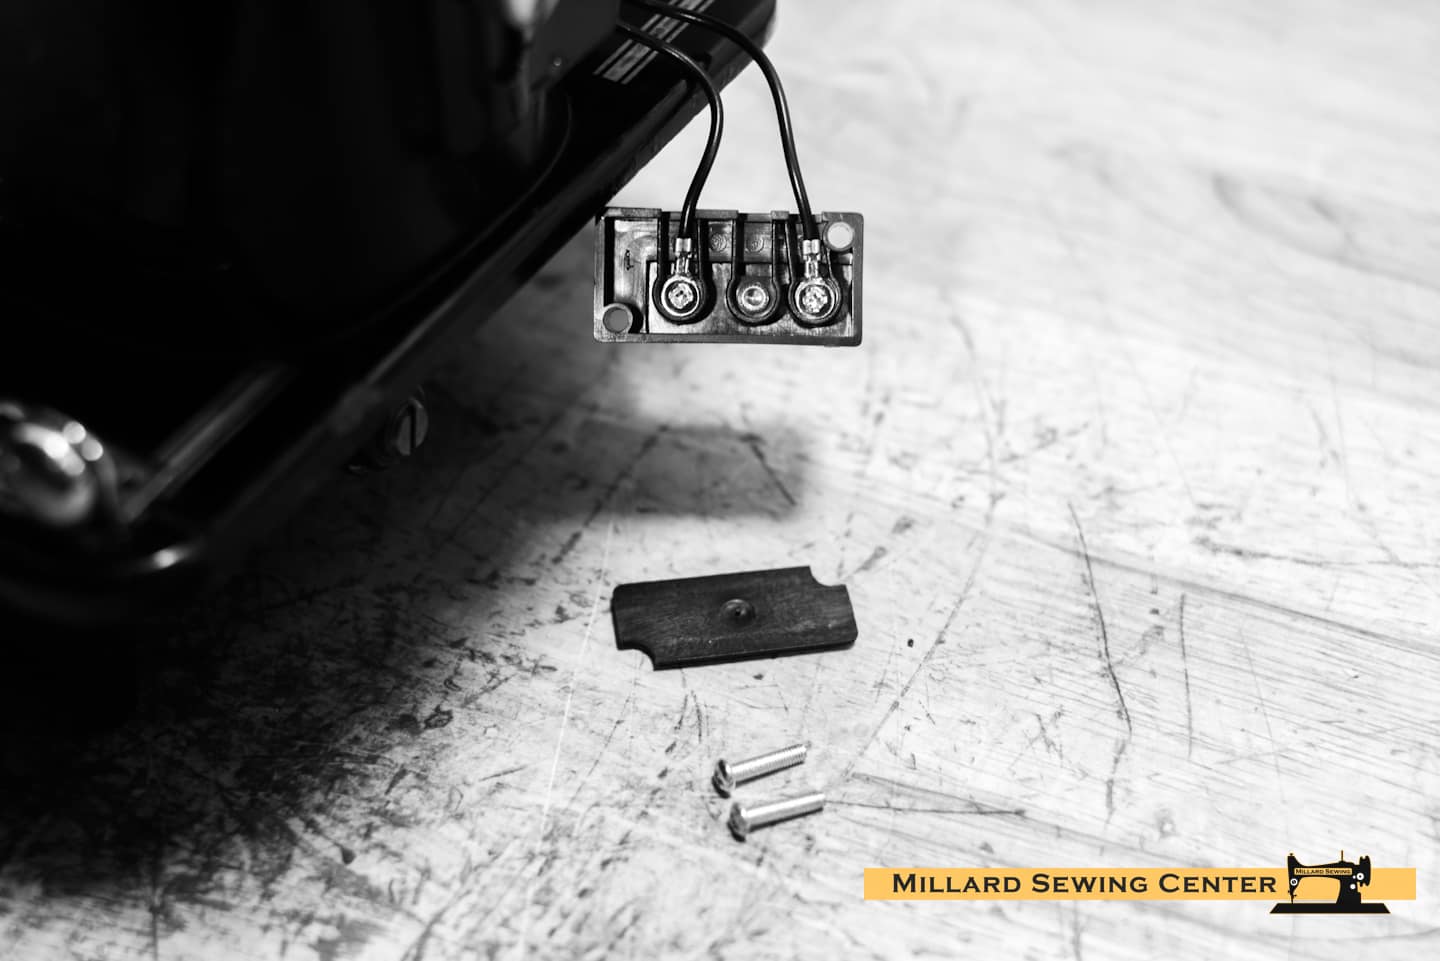
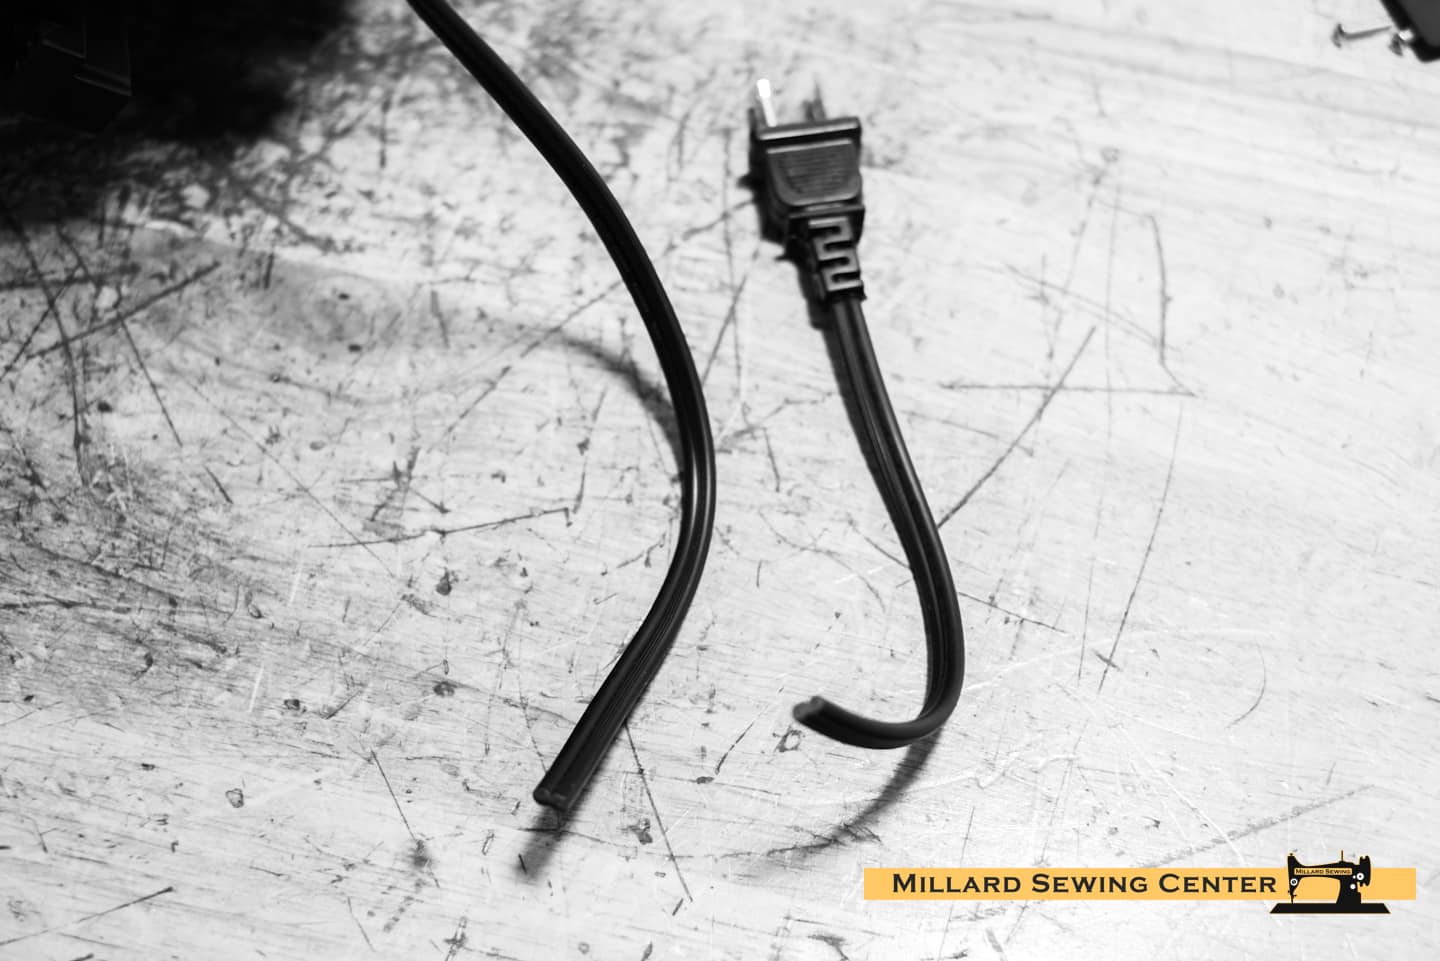
Cut the light cord to the appropriate length to reach the back of the motor kit’s power connection. Strip the cut ends and crimp the ring terminals to the wires.
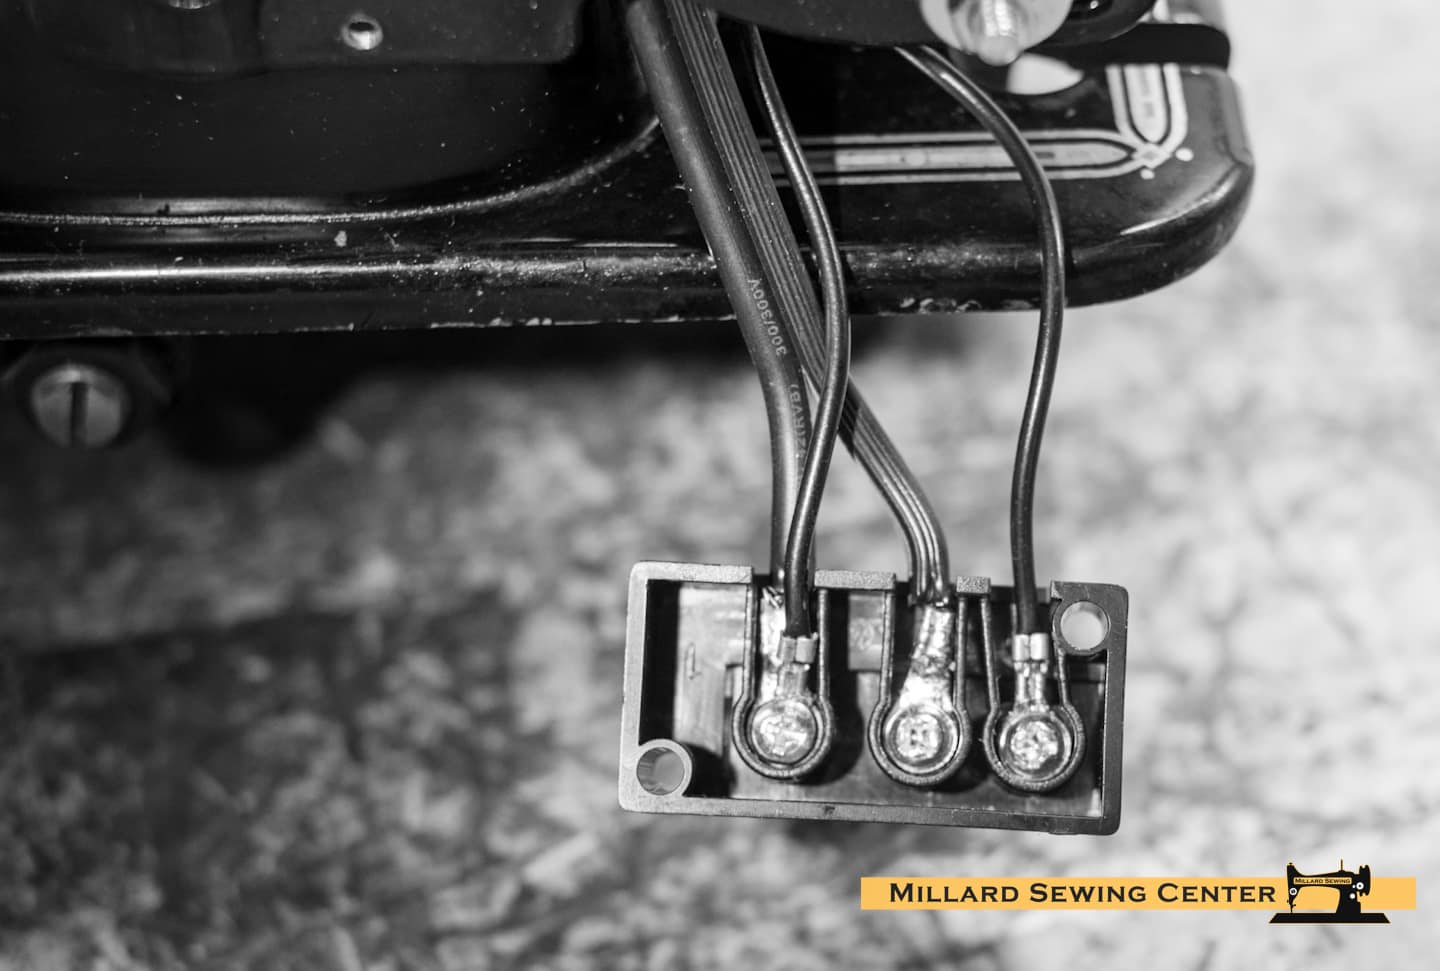
Attach the light cord as pictured. With the wires exiting towards the top of the plug remove the left side wire. Move this original screw to the center position with one light wire. Use the Millard Sewing provided screw to reattach the left motor wire along with the other light wire to the left position. Reinstall the power connection block.
If you are not comfortable performing this process purchase your motor kit, light, and terminal kit from us at the same time and ask us to do this in the notes. We will do this conversion before it ships to you!
Discover more from Millard Sewing Center
Subscribe to get the latest posts sent to your email.